


Step-by-Step Guide to Designing Custom Curtains from Fabric to Installation
Have you ever wanted curtains that fit your windows perfectly and match your style? Custom curtains let you choose the fabric, color, and details you love. You can create diy curtains even if you have never tried diy before. Many people find diy projects fun and rewarding. You do not need to know how to sew or have experience with sewing. Get ready to transform your space with curtains that truly feel like your own.
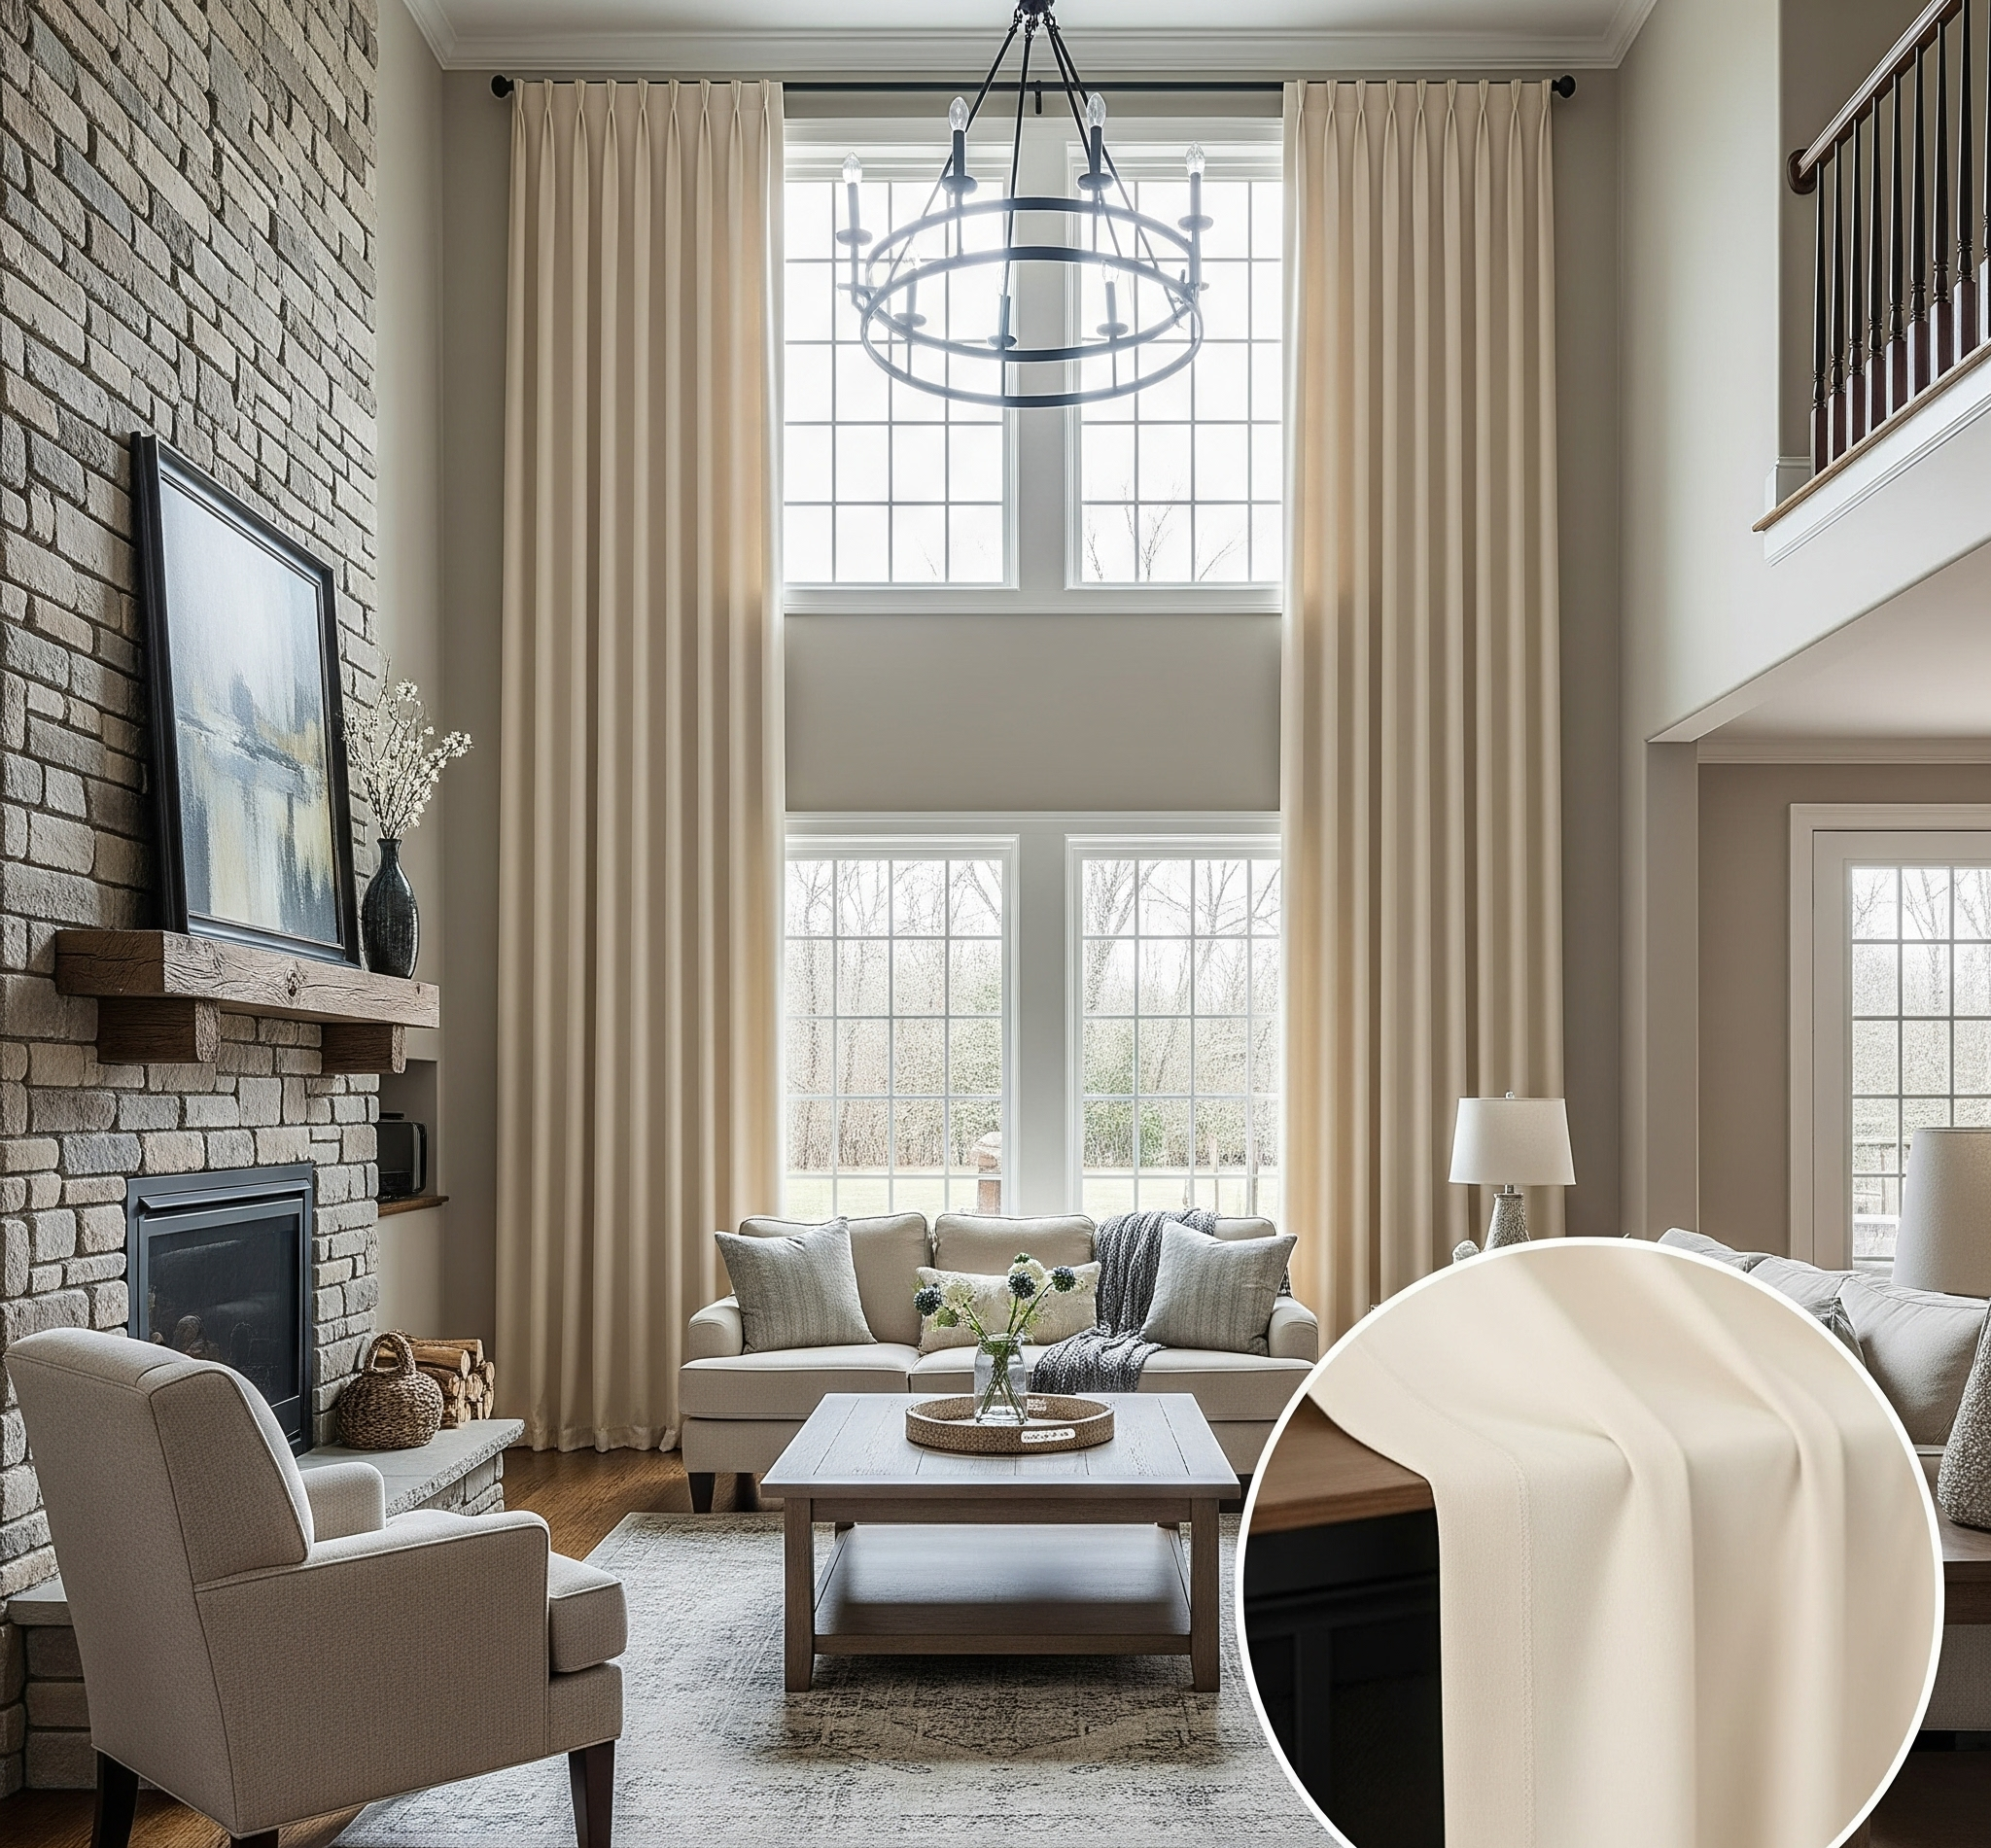
Tip: Custom curtains can make any room look unique and cozy!
Key Takeaways
Think about why you need curtains and what style you want. Make sure they fit your room and needs. Measure your windows with care. Add extra fabric for hems and pleats. This helps your curtains fit well. Pick fabric by looking at weight, color, and pattern. Check how to care for the fabric. This makes your curtains last and look nice. Choose strong rods, rings, and hooks. These should hold your curtains and help them move easily. Use easy sewing or no-sew ways to make your curtains. Install them with care so they look neat.
Plan Custom Curtains
Define Purpose and Style
Before you start your diy project, think about why you want new curtains. Do you need more privacy in your bedroom? Maybe you want to block out sunlight in your living room. Some people use custom curtains to add color or texture to a space. You can also use curtains to make a room feel cozy or modern.
Ask yourself these questions:
Do you want your curtains to block light or let it in?
Should your curtains match your furniture or stand out?
Do you need curtains for decoration or for privacy?
Look at the room where you want to hang your diy curtains. Notice the colors and patterns already there. You can pick a style that fits in or choose something bold. Custom curtains let you show your personality. You can pick any fabric, color, or pattern you like.
Tip: Take a photo of your room. Hold up fabric samples next to your window. This helps you see what looks best before you start your diy project.
Choose Customization Platform
Now you need to decide where to get your custom curtains. You have a few options. Many people like to shop online. Some websites let you design your own curtains step by step. You can choose fabric, size, and style. Other people visit local stores. You can touch the fabrics and ask questions in person.
Here are some ways to get started:
Search for online shops that offer custom curtains. Read reviews and compare prices.
Visit a fabric store in your town. Ask if they help with diy curtain projects.
Check if local tailors or seamstresses can sew curtains for you.
Some big home stores have design centers. You can see samples and get advice.
You do not have to sew if you do not want to. Many platforms offer no-sew options or ready-made panels you can customize. Pick the option that feels right for your diy skills and budget.
Measure Windows
Getting the right fit for your curtains starts with good measurements. If you want your custom curtains to look perfect, you need to measure your windows carefully. This step helps you avoid curtains that are too short or too narrow. You will also make sure your fabric covers the window just the way you want.
Gather Tools
Before you start, grab a metal tape measure. This tool gives you the most accurate measurements. You also need a pencil, a notepad, and maybe a step stool if your windows are tall. Some people like to use a fabric measuring tape, but a metal one works best for straight lines. Keep your tools close so you do not have to stop in the middle.
Measure Width and Height
Stand in front of your window. Use your tape measure to check the width from one side of the frame to the other. Write down this number. Next, measure the height from the top of the window to where you want your curtains to end. Some people like their curtains to touch the floor. Others want them to stop at the window sill. Write down all your measurements. If your window has special features, like a deep sill or trim, include those in your notes. You want your fabric to fit every part.
Tip: For a fuller look, add extra width. Many people use 1.5 to 2 times the window width for their fabric. This makes the curtains look rich and full.
Add for Hems and Pleats
Now, you need to add extra inches to your measurements. This extra fabric lets you create hems at the top and bottom. If you want pleats or a rod pocket, add more fabric for those details. Check your measurements again before you buy your fabric. Double-checking now saves you from mistakes later. Write down your final numbers. You will use these when you cut your fabric or order your custom curtains.
Note: Careful measurements help your curtains hang straight and look professional. Take your time with this step!
Choose Fabric
Select Material and Weight
You want your drapes to look great and last a long time. Start by thinking about the material. Some fabrics feel light and airy. Others feel thick and heavy. If you want your curtains to block out light, try a heavier drapery fabric like velvet or canvas. For a softer look, you might like linen or cotton. These fabrics let in more light and move easily. Many people ask about the best fabric for diy curtains. Cotton works well for most projects. It is easy to sew and comes in many colors.
Tip: Hold the fabric up to the light in the store. You can see how much light will pass through your drapes.
Pick Color and Pattern
Now comes the fun part! You get to choose the color and pattern for your curtains. Look at your room. Do you want your drapes to stand out or blend in? Bright colors make a bold statement. Soft colors feel calm and cozy. Patterns can add energy to a space. Stripes, florals, or geometric shapes all work well. If you want your drapes to match everything, try a solid color. Bring home fabric samples and hold them up to your window. This helps you see what looks best in your space.
Consider Lining and Care
Lining can make your drapes look fuller and last longer. It also helps block sunlight and keeps your room cooler. Some drapery fabric comes with lining already attached. You can also add your own. Think about how much care your curtains will need. Some fabrics need dry cleaning. Others go right in the washing machine. If you want easy care, pick a fabric that is machine washable.
Note: Always check the care label before you buy your drapery fabric. This saves you time and trouble later.
Select Hardware
Choose Rods and Tracks
You want your curtains to hang well and last a long time. The right rods and tracks make a big difference. Start by thinking about the weight of your curtains. Heavy drapes need strong rods or tracks. Lighter curtains can use thinner rods. Look at the space above your window. Some rods show as part of your decor. Others hide behind the fabric for a clean look.
Here’s a quick guide to help you pick the best rods and tracks:
Aspect |
Details |
|---|---|
Load-bearing capacity |
Standard tracks support 40 pounds per foot; medium and heavy duty tracks support more |
Material quality |
Tracks made from long-lasting resin with embedded steel metal plates |
Design |
Patented structural design ensuring durability and flexibility (can bend 90 degrees or more) |
Installation recommendations |
Mounting hardware spacing: 9 inches for straight runs, 1 per foot for curved tracks |
Quality control |
Strict quality control processes applied to all products to ensure performance and longevity |
Expected lifespan |
Designed for at least 20 years of use |
Tip: Always check the weight your rod or track can hold. This helps prevent sagging and keeps your curtains looking neat.
Pick Rings and Hooks
Rings and hooks help your curtains move smoothly and stay in place. You can choose from metal, wood, or plastic rings. Some rings clip right onto the fabric. Others work with pleated hooks for a classic look. If you have heavy curtains, use sturdy metal rings and strong hooks. These keep your curtains from pulling or tearing over time.
The quality of your rings and hooks matters a lot. Good hardware lets your curtains glide open and closed without sticking. It also helps your curtains keep their shape and last longer. Strong rods and brackets support the weight, so your curtains do not sag in the middle. When you pick high-quality hardware, you make sure your curtains look great and work well for years.
Note: Try sliding a ring or hook along the rod before you hang your curtains. Smooth movement means you picked the right hardware!
Decide Heading and Details
Heading Styles (Grommet, Pleat, Pocket)
You get to pick how your drapes hang at the top. This part is called the heading. The heading style changes how your drapes look and move. Here are three popular styles you can try:
Grommet: You see big metal rings at the top. You slide the drapes right onto the rod. You do not need to sew pleats. Grommet drapes look modern and open and close easily.
Pleat: You sew folds into the top of your drapes. Pleated drapes look fancy and neat. You can try pinch pleats, box pleats, or goblet pleats. Pleats need more fabric and a bit more sewing skill.
Pocket: You sew a pocket at the top of your drapes. The rod slides through the pocket. Pocket drapes look simple and classic. You do not see the rod much. This style works well if you want to sew your own drapes with easy steps.
Tip: If you want to sew less, try grommet or pocket styles. If you love sewing and want a tailored look, pleats are a great choice.
Add Trims and Embellishments
You can make your drapes special by adding trims and decorations. Trims go along the edges or bottom of your drapes. You can sew on ribbon, fringe, or even pom-poms. Some people like to sew beads or lace for a fancy touch. You can use fabric glue if you do not want to sew. This makes it easy to add style without a lot of sewing.
Here’s a quick table to help you pick trims:
Trim Type |
How to Attach |
Best For |
|---|---|---|
Ribbon |
Sew or glue |
Simple, colorful look |
Fringe |
Sew |
Fun, playful drapes |
Beads |
Sew by hand |
Fancy, dressy drapes |
Pom-poms |
Sew or glue |
Kids’ rooms, bold style |
Lace |
Sew |
Soft, classic drapes |
You can sew trims before you hang your drapes. If you want to change the look later, you can always sew on new trims or use glue for a quick update. Sewing trims gives your drapes a strong finish that lasts. If you love crafts, try sewing on different trims to see what you like best.
Note: Always test your trim on a small piece of fabric first. This helps you see how it looks and feels before you sew it to your drapes.
DIY Curtains: Make or Order
Cut Fabric
You have your fabric and you are ready to start. Cutting your drapery fabric is the first big step. Lay your fabric flat on a clean surface. Use sharp scissors or a rotary cutter for straight lines. Measure twice before you cut. Mark your lines with chalk or a washable marker. If you want to know how to make curtains that fit perfectly, always double-check your measurements. Cutting your drapery fabric with care helps your diy curtains look neat and professional.
Tip: Add a little extra to each side for hems. This gives you room for sewing and makes your drapes last longer.
Sew or No-Sew Options
You do not need to be a sewing expert to make diy curtains. If you want to sew your own curtains, use a sewing machine for strong seams. Pin the edges, then sew straight lines for hems and sides. If you do not want to sew, try fabric glue or iron-on tape. These no-sew options work well for light drapes. You can finish your diy project quickly and still get a great look.
Here’s a quick comparison:
Method |
Tools Needed |
Best For |
|---|---|---|
Sewing |
Machine, thread |
Heavy drapes |
No-Sew |
Glue, iron-on tape |
Light curtains |
Join Panels and Add Lining
Sometimes your window is wide, so you need to join two or more panels. Place the fabric pieces side by side. Pin them together, then sew a straight seam. Press the seam flat for a smooth finish. If you want your drapes to block more light or look fuller, add a lining. Cut the lining a bit smaller than your main fabric. Pin it to the back, then sew along the edges. Lining helps your diy curtains hang better and last longer.
Iron for Finish
Ironing is the secret to crisp, beautiful drapes. After sewing your drapes, press all the seams flat. Iron the hems and sides for a sharp edge. If you used no-sew tape, iron over those spots to set the glue. Smooth drapes look more polished and hang better on your rod.
Note: If you want to save time or do not want to sew, you can order custom curtains from a professional. This option costs more, but you get perfect results with less effort. Always check your budget and compare prices before you decide.
Install Custom Curtains
You have finished making your custom curtains. Now it is time to install custom curtains and see your hard work pay off! This part is all about getting a perfect fit and a polished look.
Mount Brackets and Rods
Start by finding the right spot for your brackets. Hold the rod above your window and mark where you want the brackets to go. Most people place them a few inches above the window frame. This makes your windows look taller. Use a level to make sure your marks are straight. Drill holes for the screws and attach the brackets to the wall. If your curtains are heavy, use wall anchors for extra support.
Slide the rod through your curtain heading. Place the rod on the brackets. Check that everything feels sturdy. Give the rod a gentle shake to test the installation. If it wobbles, tighten the screws.
Tip: Always measure twice before drilling. This helps you avoid mistakes and keeps your installation neat.
Hang and Adjust Curtains
Now you get to enjoy hanging your drapes! Lift the curtains and place them on the rod. Spread the fabric out so it covers the window evenly. Make sure the bottom hem hangs straight. Adjust the panels so they overlap in the middle. This blocks light and gives you privacy.
Take a step back and look at your curtains. Smooth out any wrinkles with your hands. If you chose pleated styles, train the folds by gently pressing them into place. You can use your hands or a steamer for this step. Training the pleats helps your curtains look crisp and professional.
Note: Let your curtains hang for a few days. The fabric will relax and look even better.
You did it! The installation is complete, and your room feels brand new.
You just learned how to plan, measure, and install your own custom curtains. Every step, from picking fabric to hanging the final panel, helps you create a space that feels like home. Use a checklist to keep your diy project on track. Enjoy the results of your diy work! Want to show off your curtains or have a question? Drop a comment below. Your diy journey can inspire others, too!
FAQ
How do I know how much fabric to buy?
You need to measure your window’s width and height. Add extra inches for hems and pleats. Most people buy fabric that is 1.5 to 2 times the window width for full-looking curtains.
Can I make curtains without sewing?
Yes! You can use fabric glue or iron-on tape for hems. These no-sew methods work well for light fabrics. You just need to follow the instructions on the package.
What is the best fabric for beginners?
Cotton works great for beginners. It is easy to cut and sew. You can find cotton in many colors and patterns. It also washes easily.
How do I keep my curtains looking nice?
Tip: Wash or vacuum your curtains every few months. Iron them if they get wrinkled. Always check the care label before cleaning. This helps your curtains last longer and look fresh.