






















All rods are custom-cut to your exact specifications, so returns/exchanges are not accepted for sizing issues. If you’re unsure about the right measurement, please chat with our live support team before placing your order—we’re happy to help!
How to Install Collins Custom Curtain Rods
A simple, refined way to elevate your space—learn how to install rods for a clean, tailored finish that fits seamlessly into your home.
Step 1: Make sure you have everything you need.
①Rod/Rods ②Screws ③Brackets ④Finials
⑤Connectors (not included if you only have one rod)
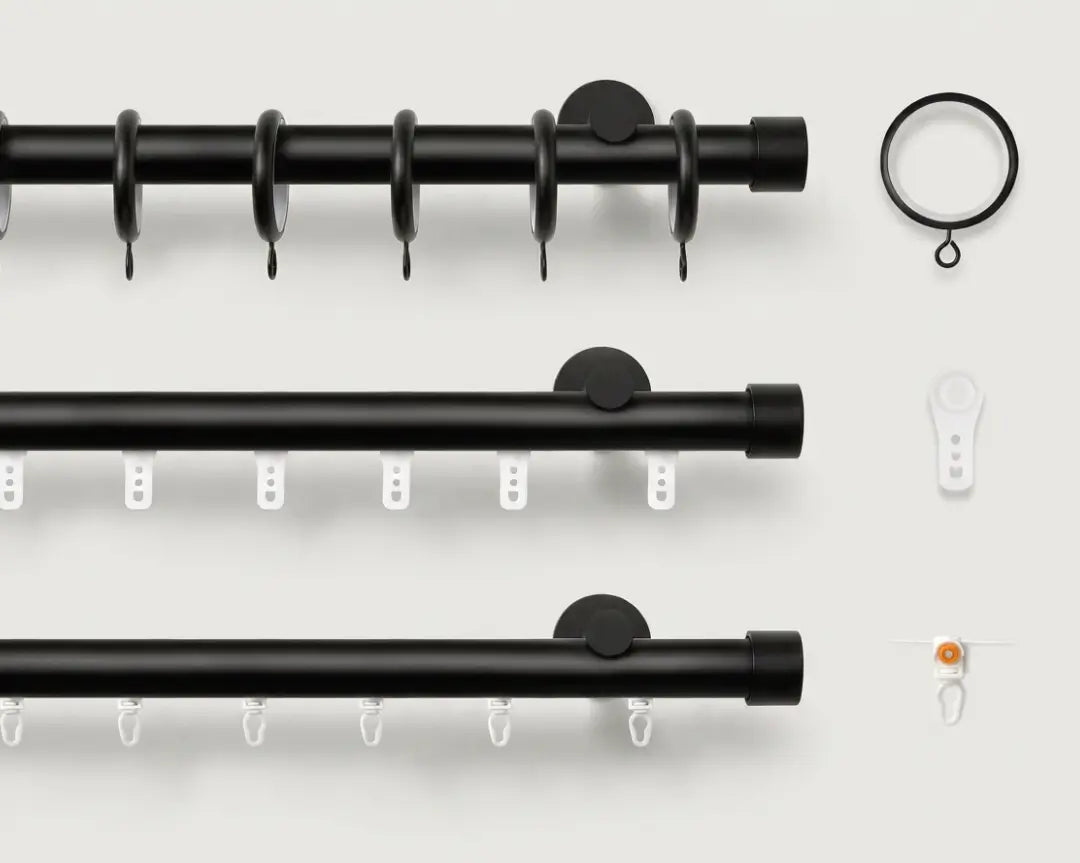
⑥Curtain rings(not included)
⑦Tool(not included)
Step 2: Use a measuring tape to mark the positions for the brackets.
Decide exactly where you want the rod to go.
Step 3: Unscrew the bases from the brackets.
Mark the position of the bracket base, drill holes at the marked spots, and then screw the bases securely into place.
Step 4: Drill holes at the marked spots, and finally screw the bracket bases into place.
Screw the bracket securely onto the base.
Use the connector to join the rods, keeping the notch side facing down.
Add a bracket at each joint for support.
*Note: If your rod is over 82", it will be shipped in several pieces.
Step 5: If you're using curtain rings, be sure to slide them onto the rod before installing the rod.
Step 6: Use the Allen wrench to attach and secure the finials to both ends of the rod.
Step 7: Place the rod onto the brackets and tighten the small screws to secure it in place.