




















How to Install Smart Motorized Roman Shades
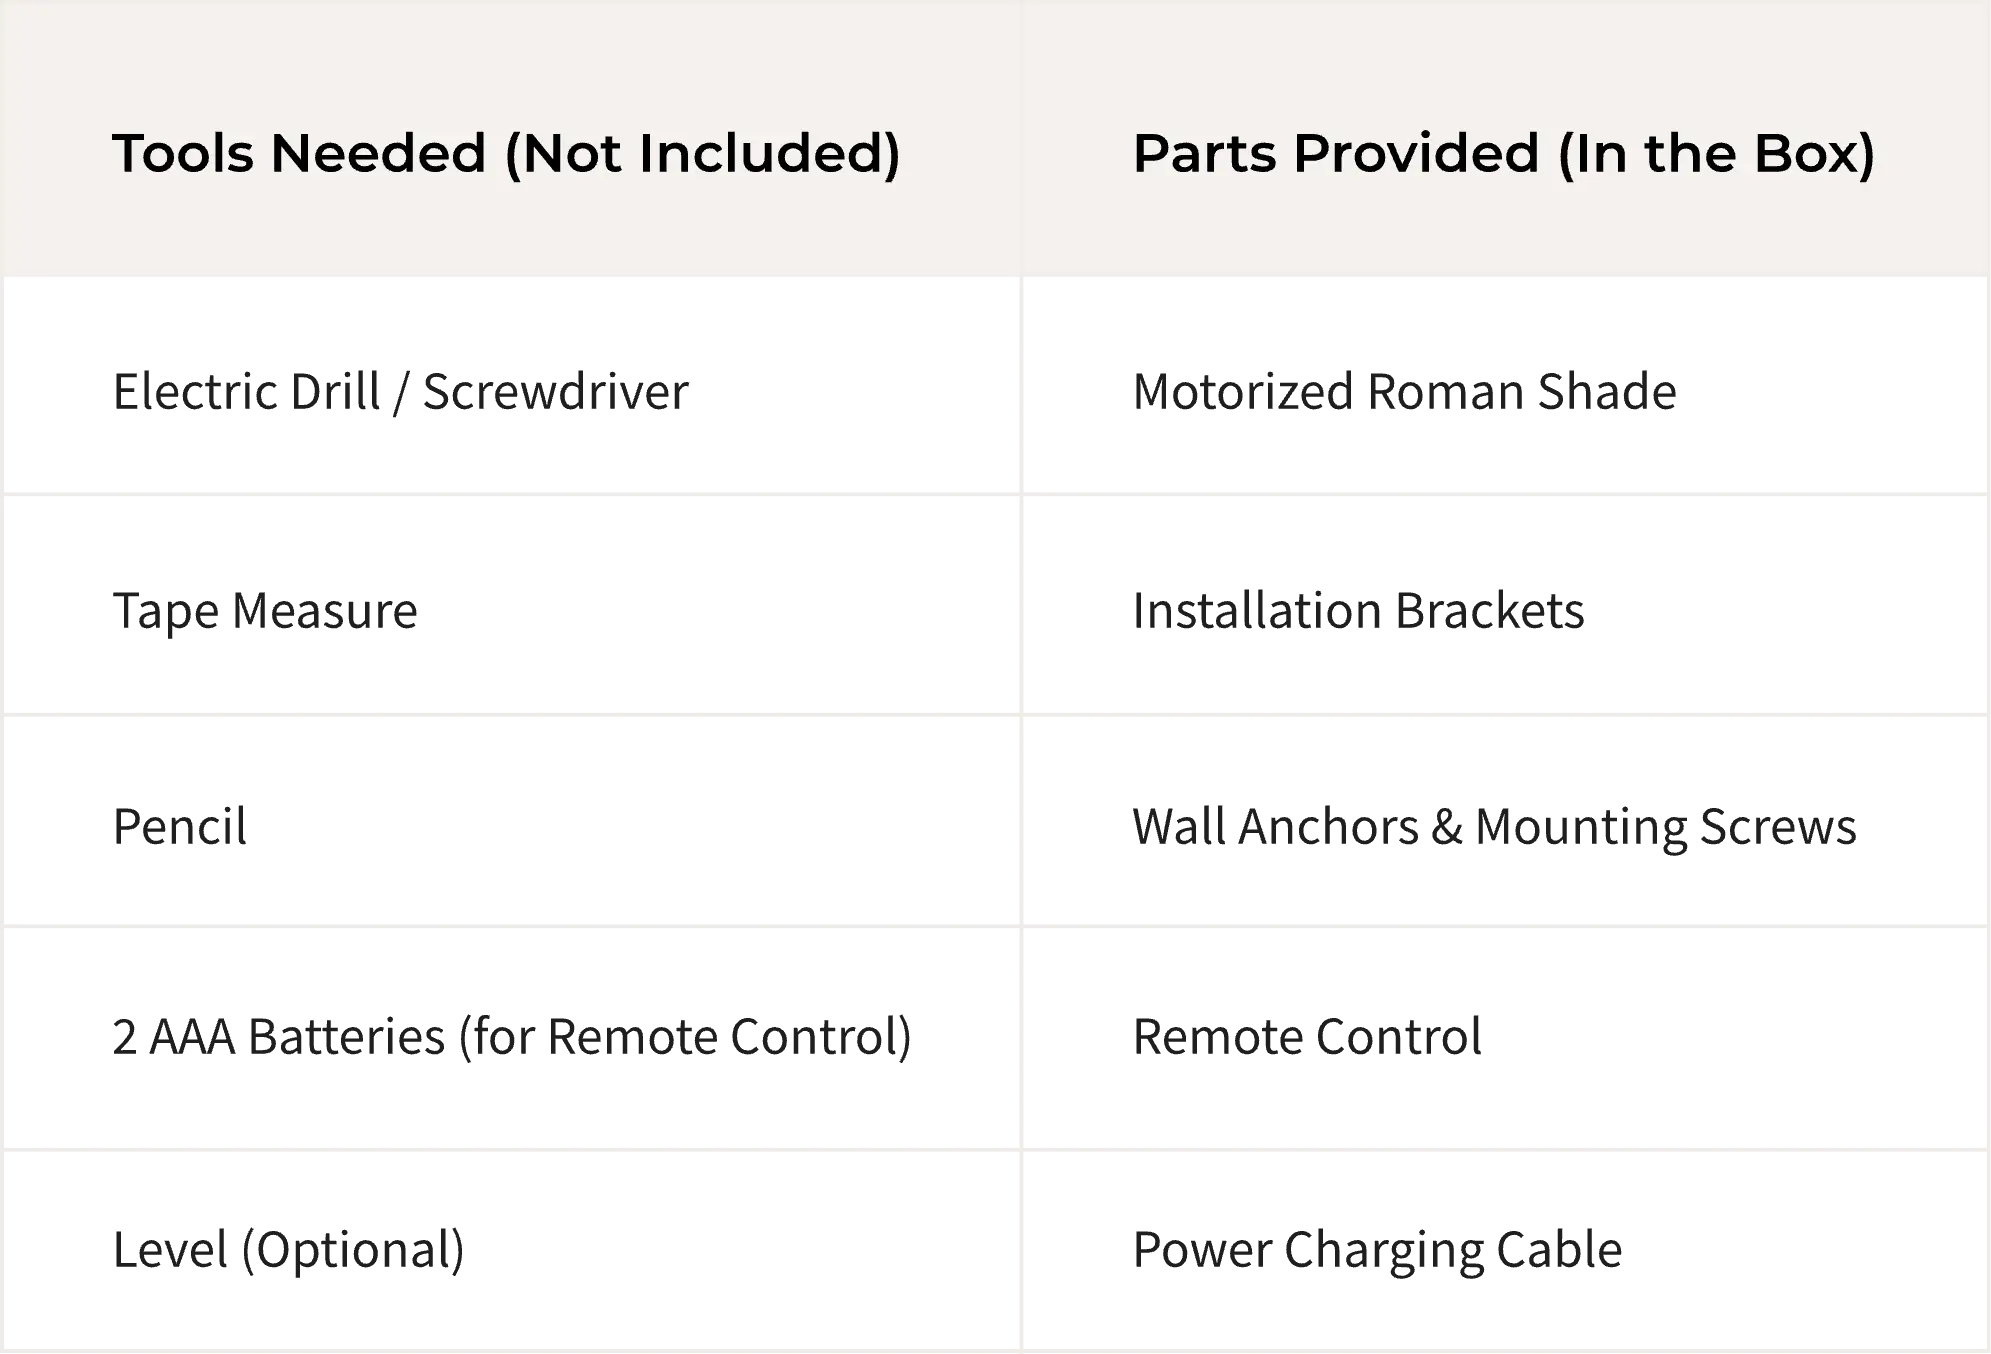
1. Pre-Installation: Tools & Components


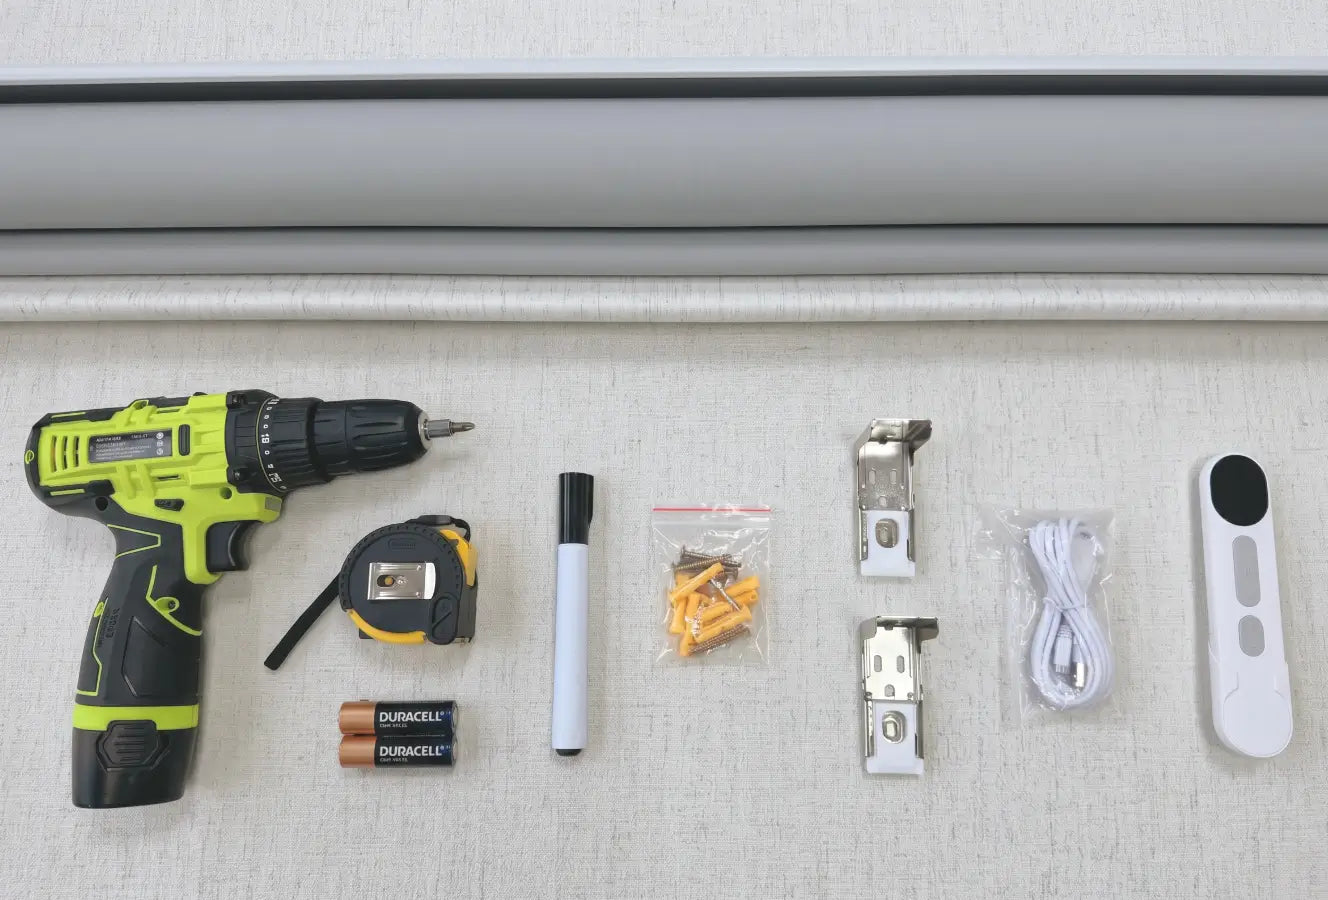
2. Inside Mount Installation Guide

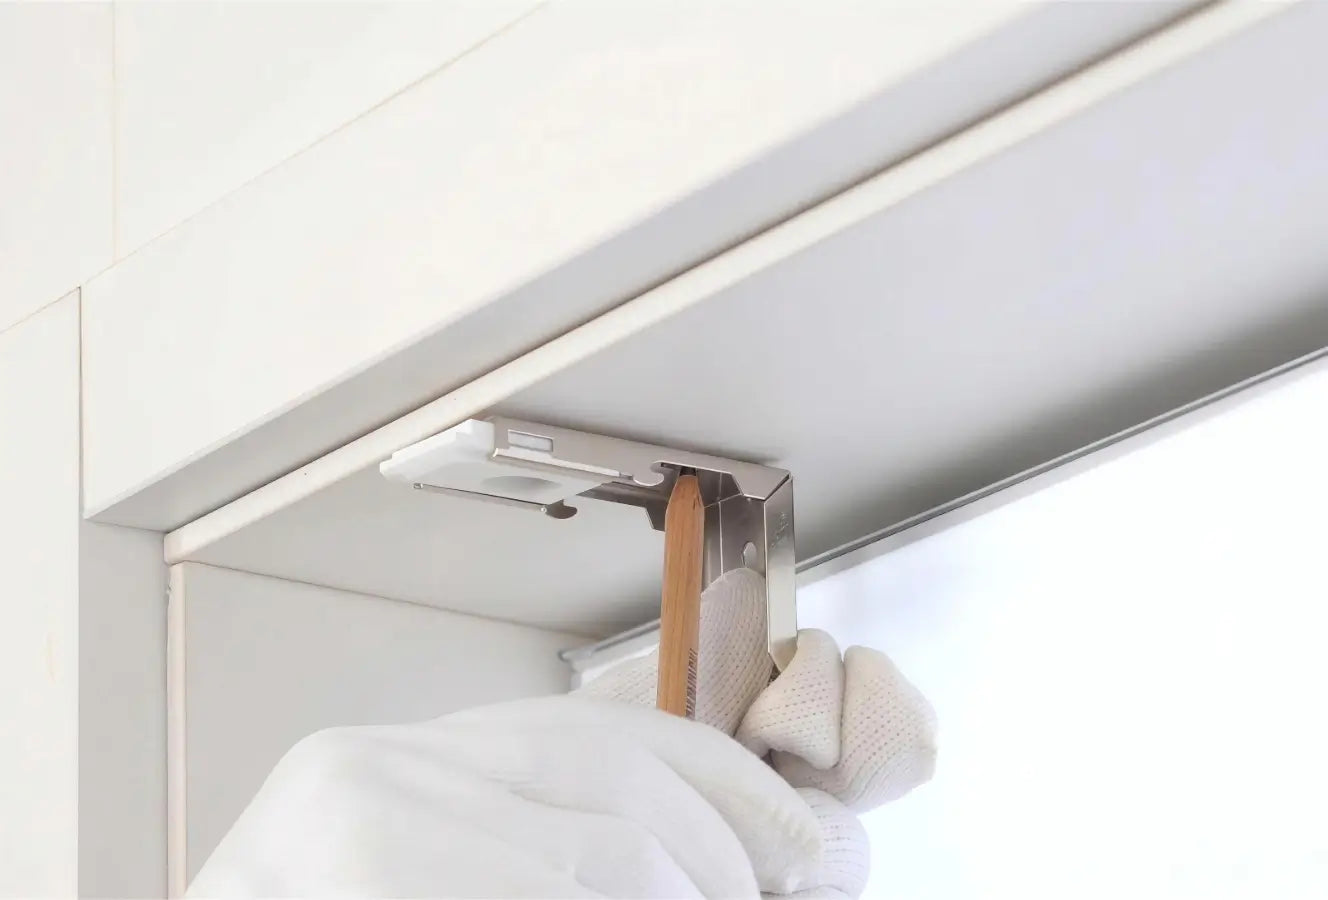
Step 1: Position and Mark the Brackets
Place the brackets against the top inside surface of the window frame.
Position each bracket approximately 4 inches inward from the left and right ends of the window frame. Ensure the brackets are properly aligned and flush with the mounting surface.
Use a pencil to mark the screw holes through the bracket slots.
Step 2: Secure the Brackets
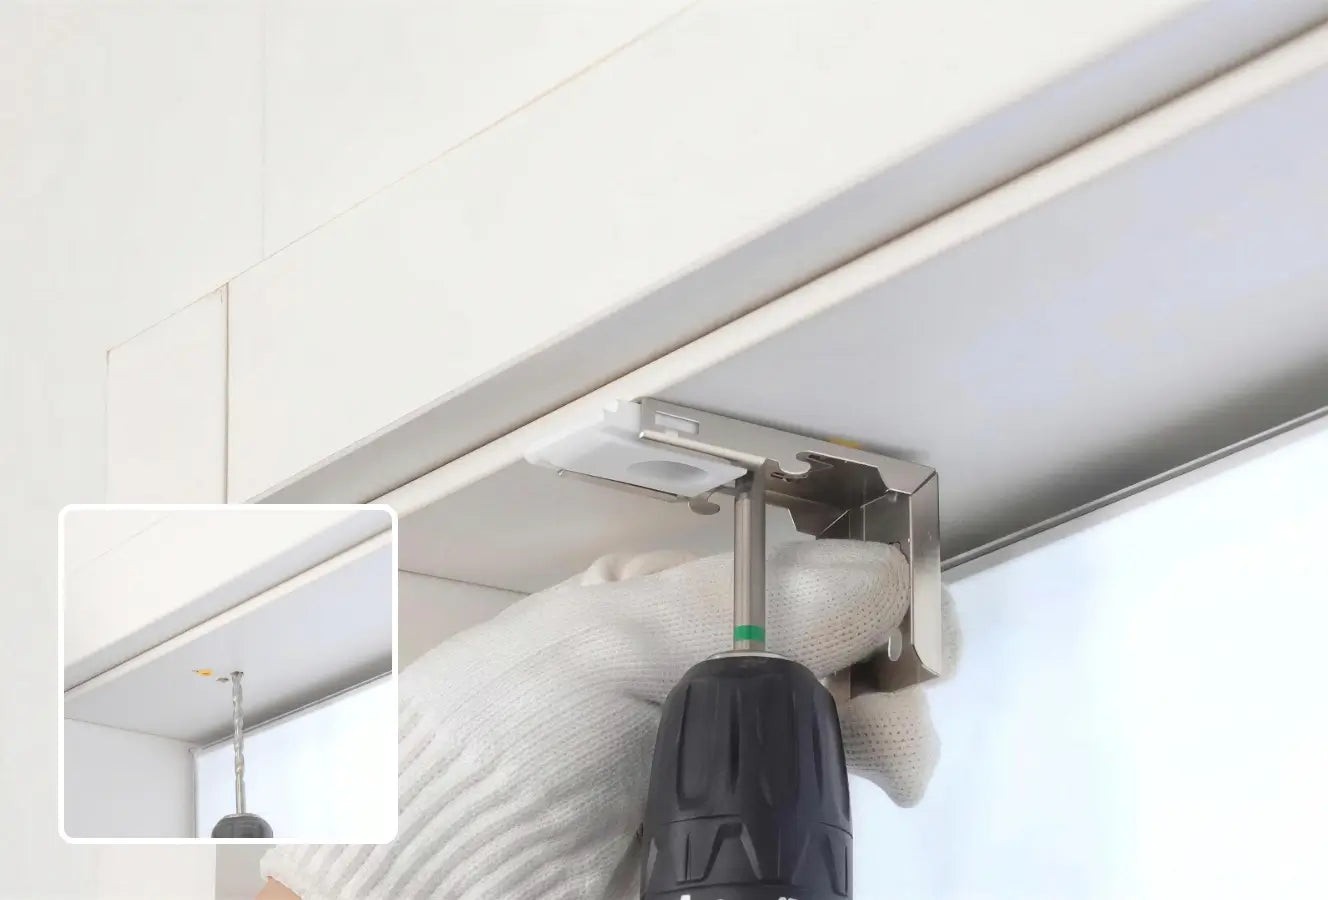
Using the marked locations as a guide, pre-drill the screw holes if necessary.
Position the brackets over the marked holes and fasten them securely to the top inside surface of the window frame using the provided screws.
Before proceeding, make sure both brackets are level and firmly attached.


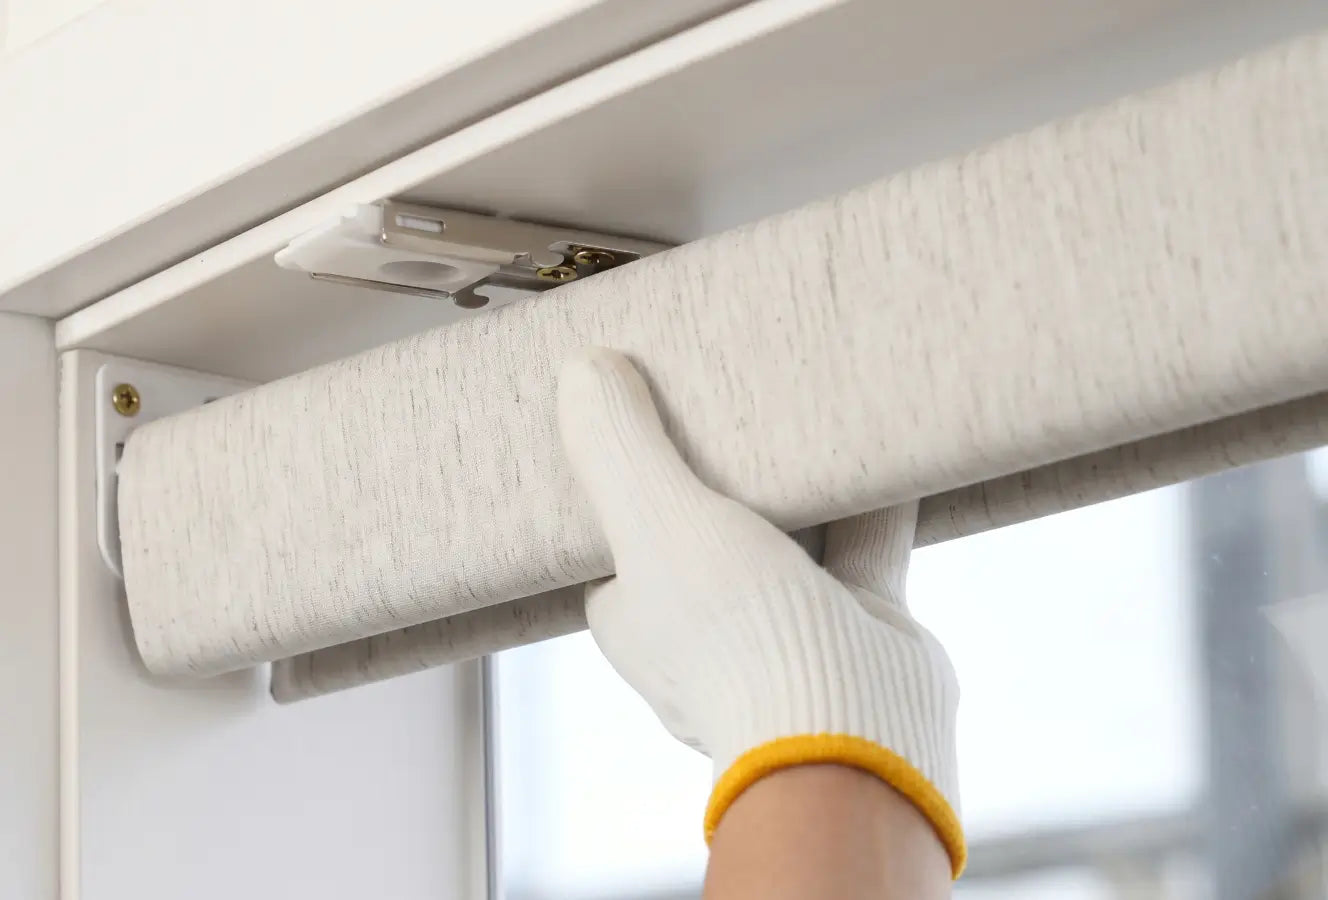
Step 3: Install the Shade
Lift the shade and align the headrail with the installed brackets.
Hook the front edge of the headrail onto the front lip of each bracket first. Then rotate the back of the headrail upward and push firmly until you hear a distinct "click," indicating that the shade is securely locked into place.
Gently pull down on the headrail to confirm that the shade is properly installed before operation.
3. Outside Mount Installation Guide

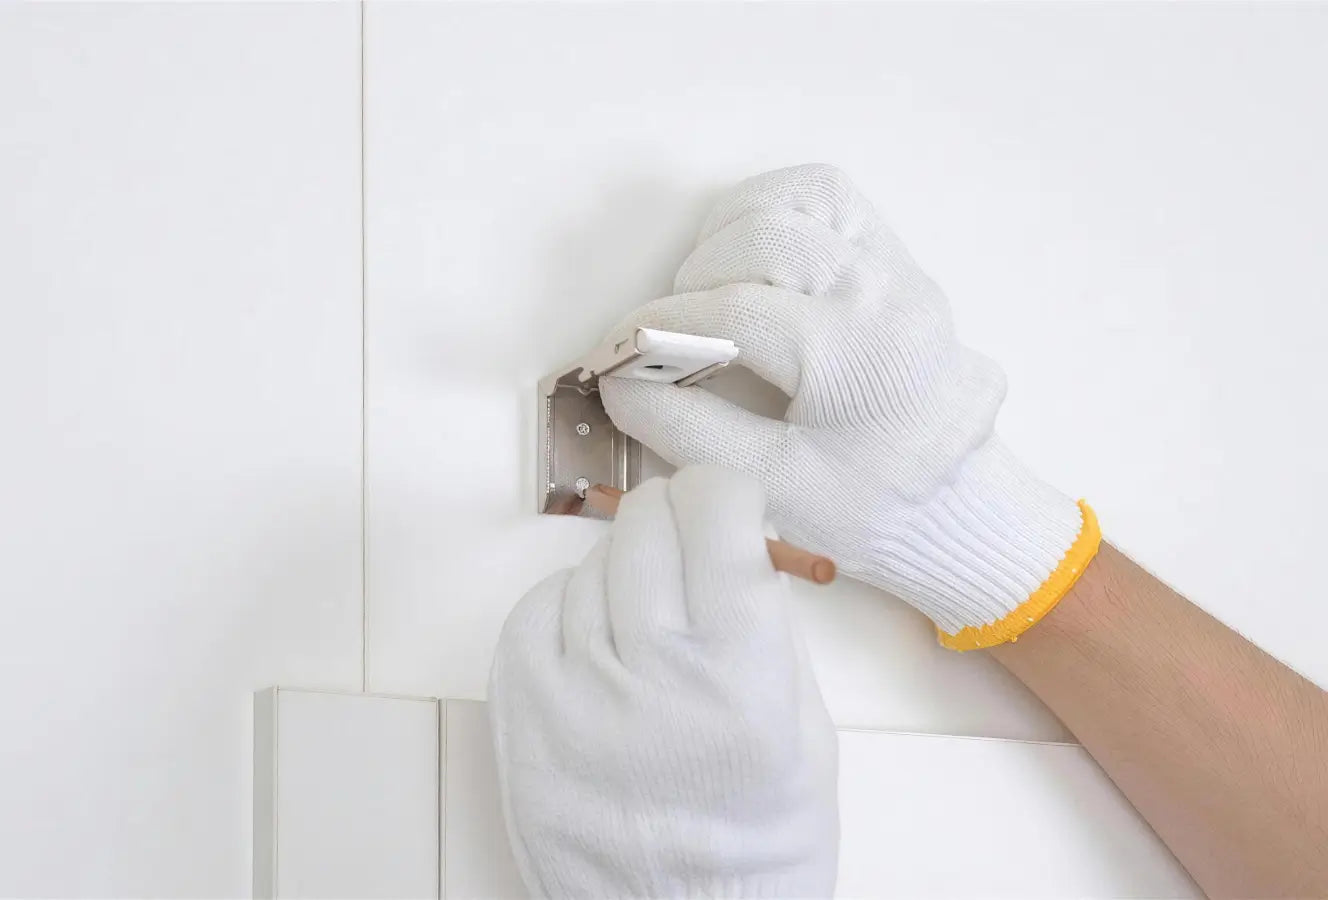
Step 1: Position and Mark the Brackets
Hold the brackets against the wall or window trim at the desired mounting height.
For optimal appearance and coverage, position the brackets approximately 4–6 inches above the window opening and 4 inches outward from each side of the window opening.
Use a level to ensure the brackets are properly aligned, then mark the screw hole locations with a pencil.
Step 2: Secure the Brackets
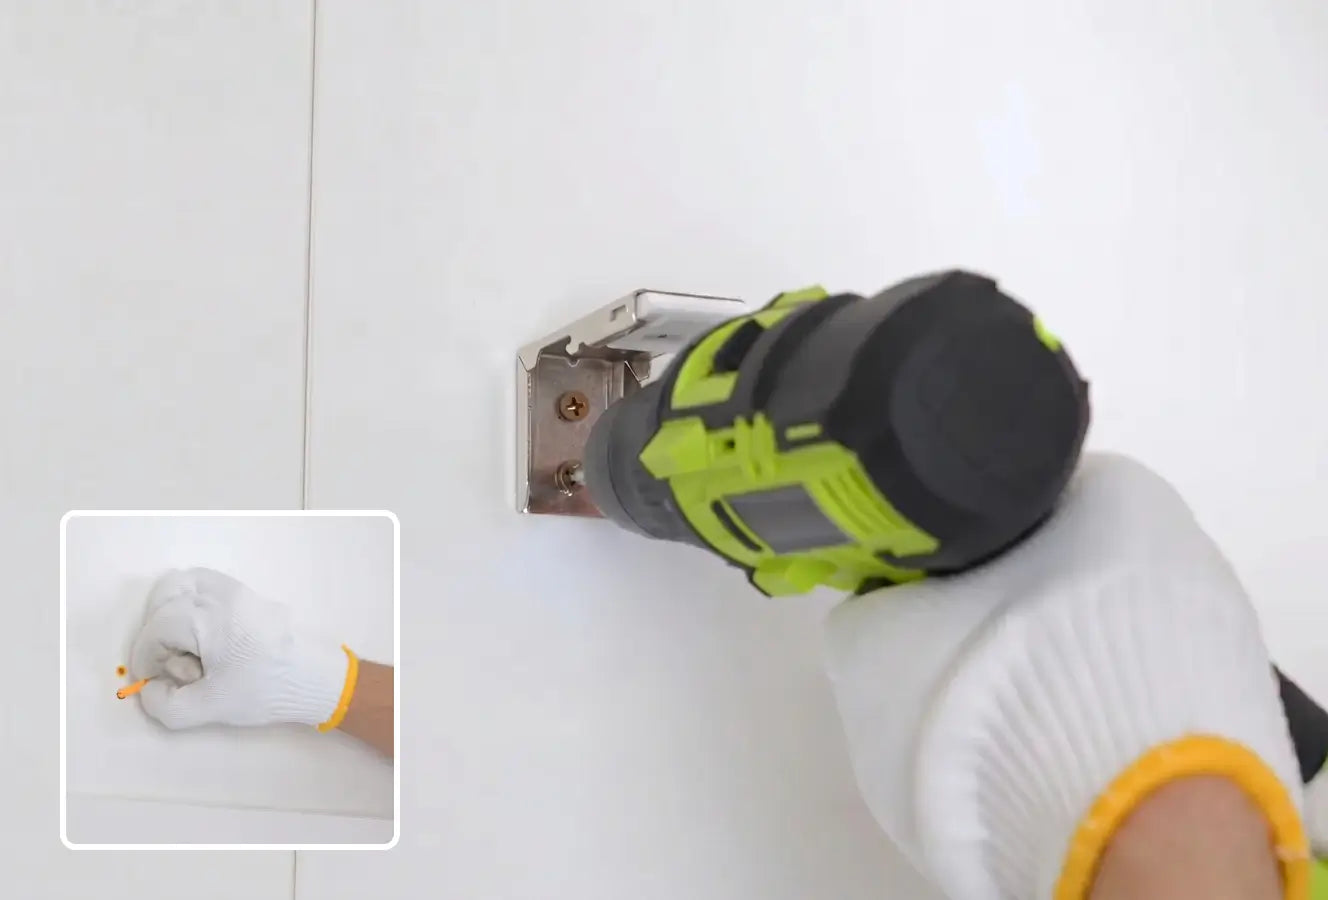
Drill holes at the marked locations.
Insert the provided wall anchors into the holes until they sit flush with the wall surface.
Position the brackets over the anchors and fasten them securely using the provided screws.
Before proceeding, make sure both brackets are level and firmly attached.


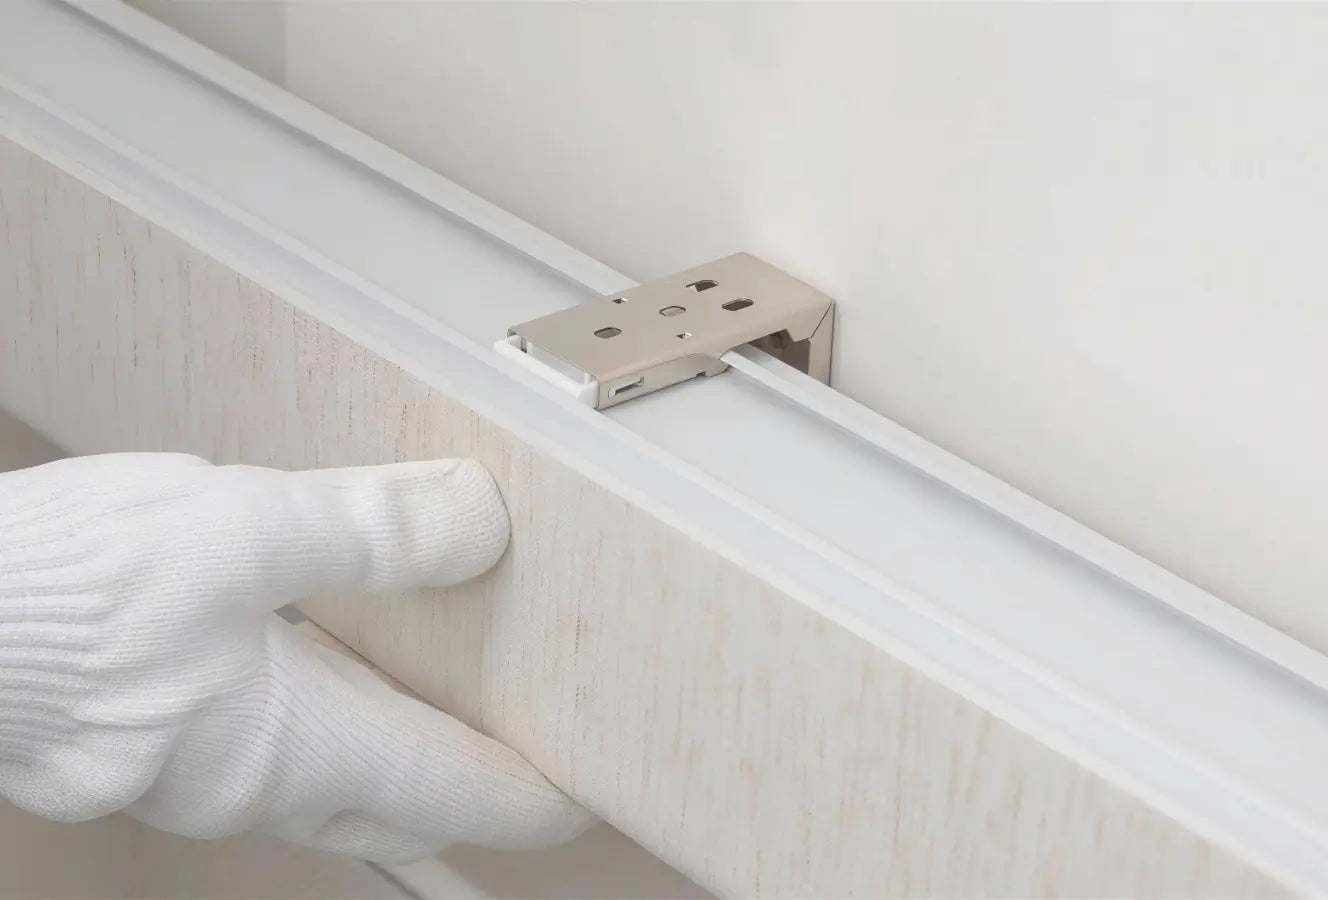
Step 3: Install the Shade
Lift the shade and align the headrail with the installed brackets.
Hook the front edge of the headrail onto the front lip of each bracket first. Then rotate the back of the headrail upward and push firmly until you hear a distinct "click," indicating that the shade is securely locked into place.
Gently pull down on the headrail to confirm that the shade is properly installed before operation.
4. Shade Removal & Maintenance
Safe Uninstallation
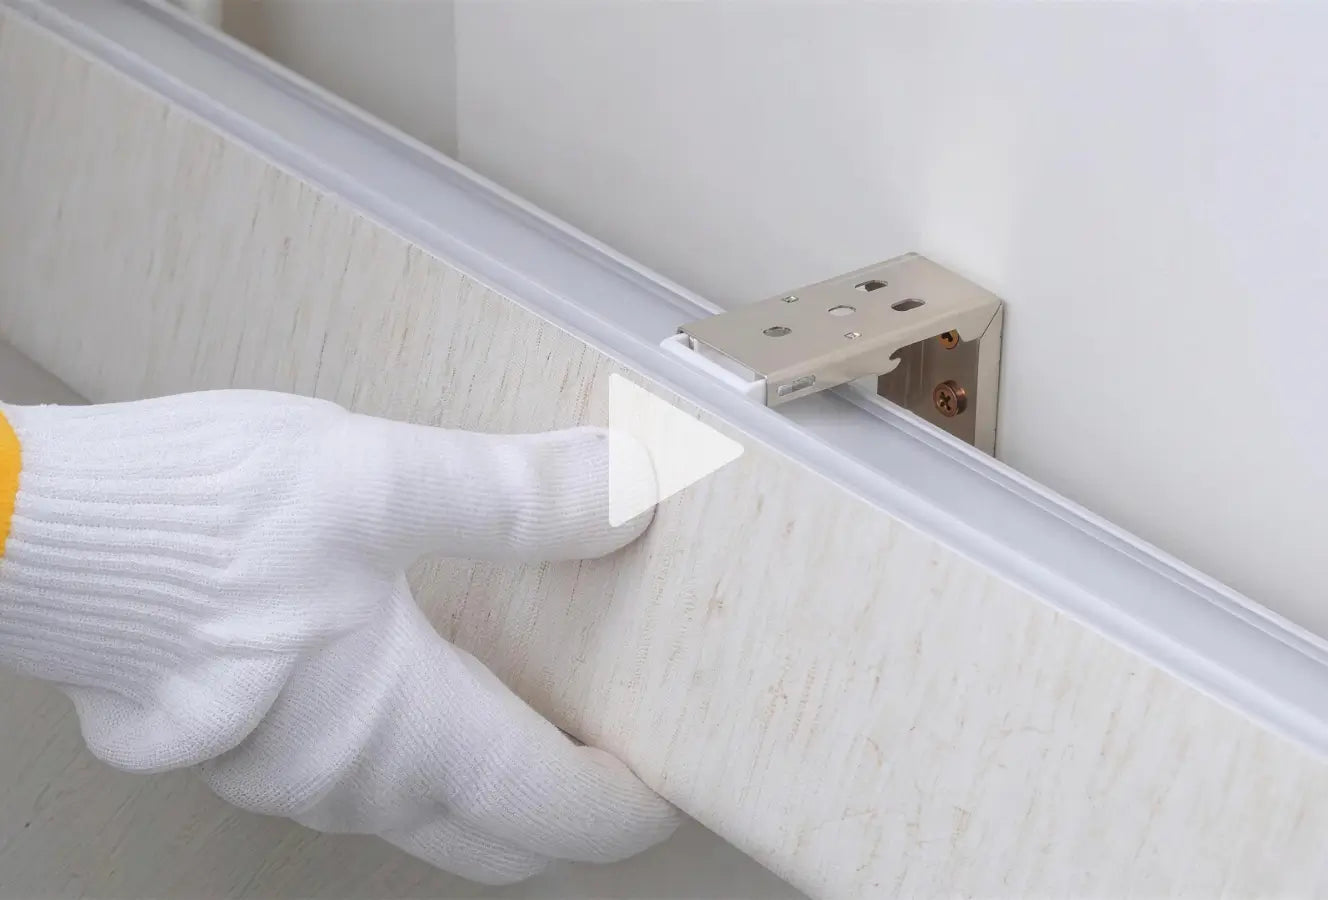
Support the shade firmly with both hands. Locate the release tabs on the back/bottom of the brackets. Press or push the tabs to release the headrail, then gently tilt and pull the shade forward out of the brackets.


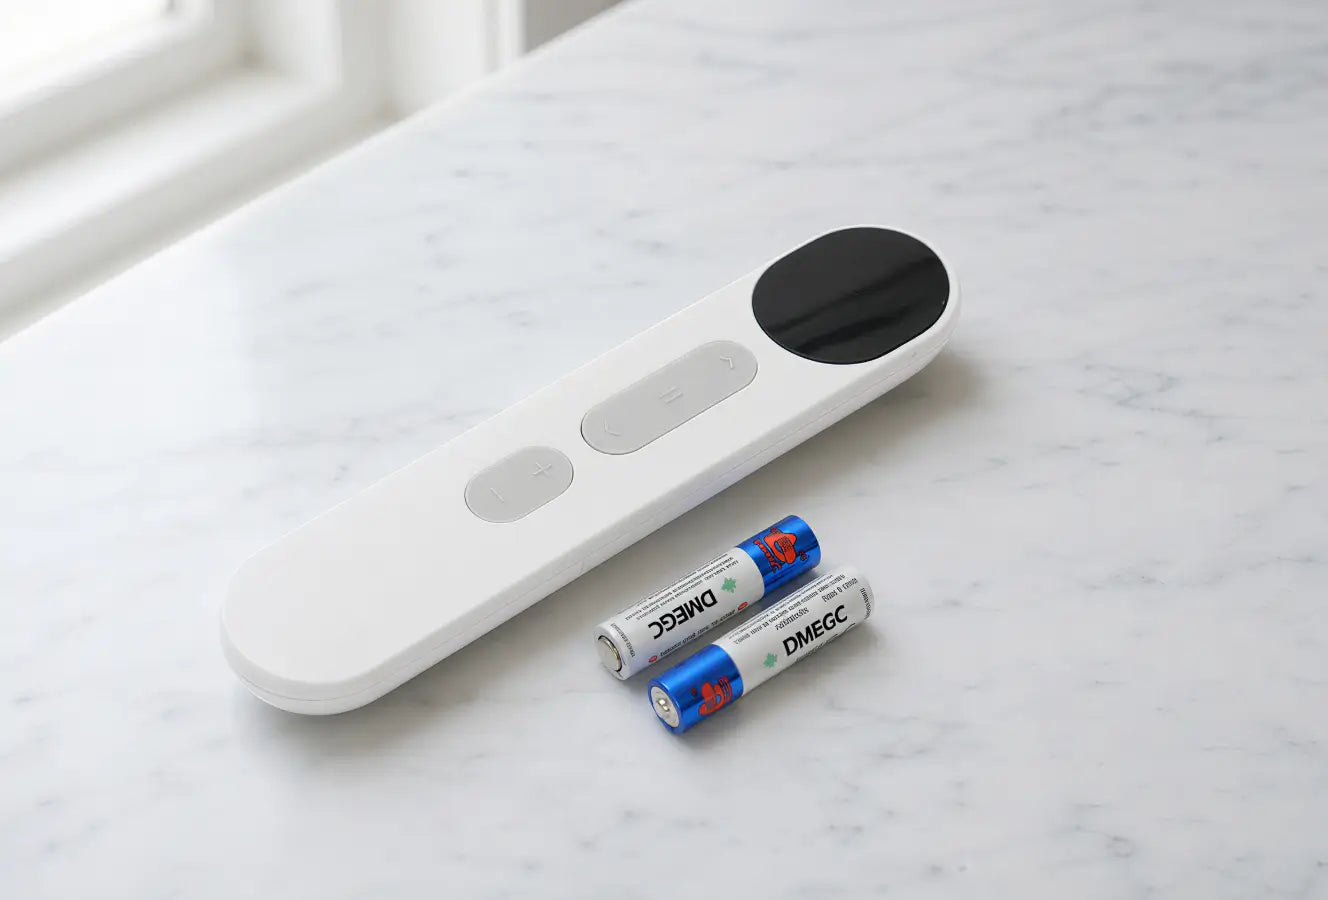
First-Time Operation Notes
Please install 2 AAA batteries into the remote control before use. If the shade motor does not respond or feels low on power, connect it to a power source using the provided charging cable to fully charge it before initial operation.
