



















Curtains & Drapes


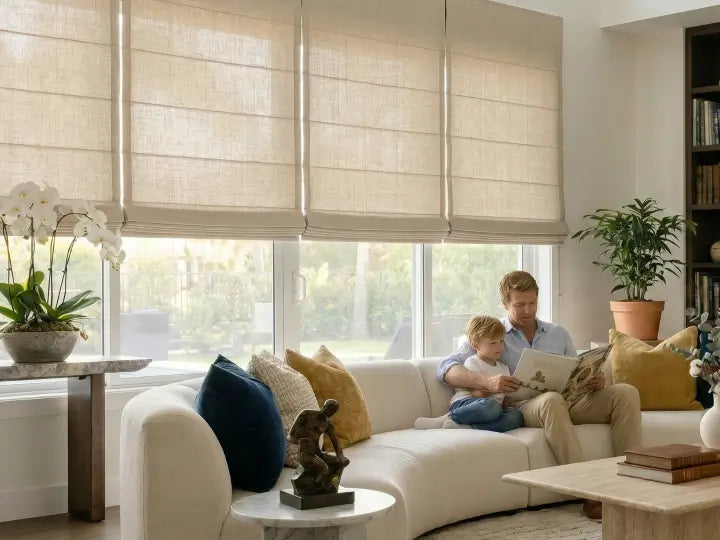
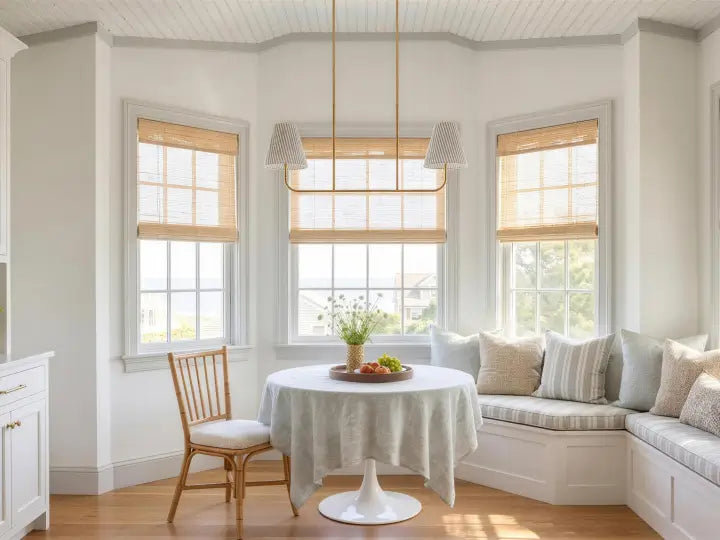
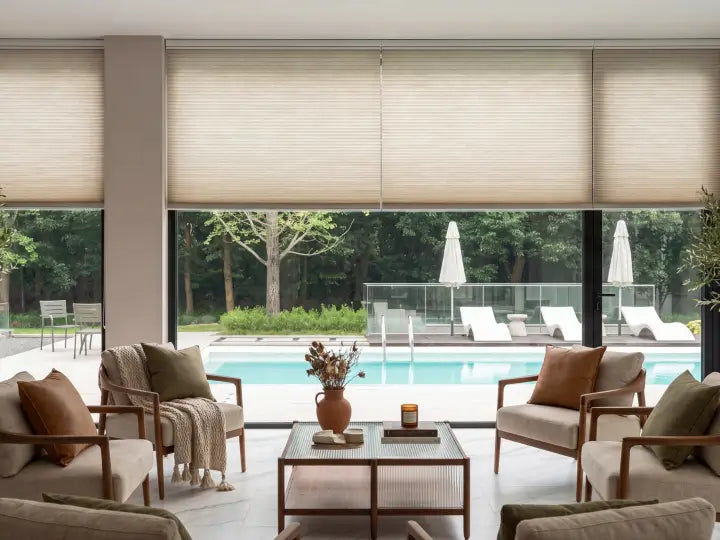
Freshine offers 6 stylish curtain header options: Grommet, Rod Pocket, Pinch Pleat, Flat Panel, Euro Pleat, and Ripple Fold. Curtain header styles define the ambiance of your space, adding a personalized touch. Explore the unique details of each style with our Measurement Tool to visualize their look and size, ensuring a perfect match for your decor.

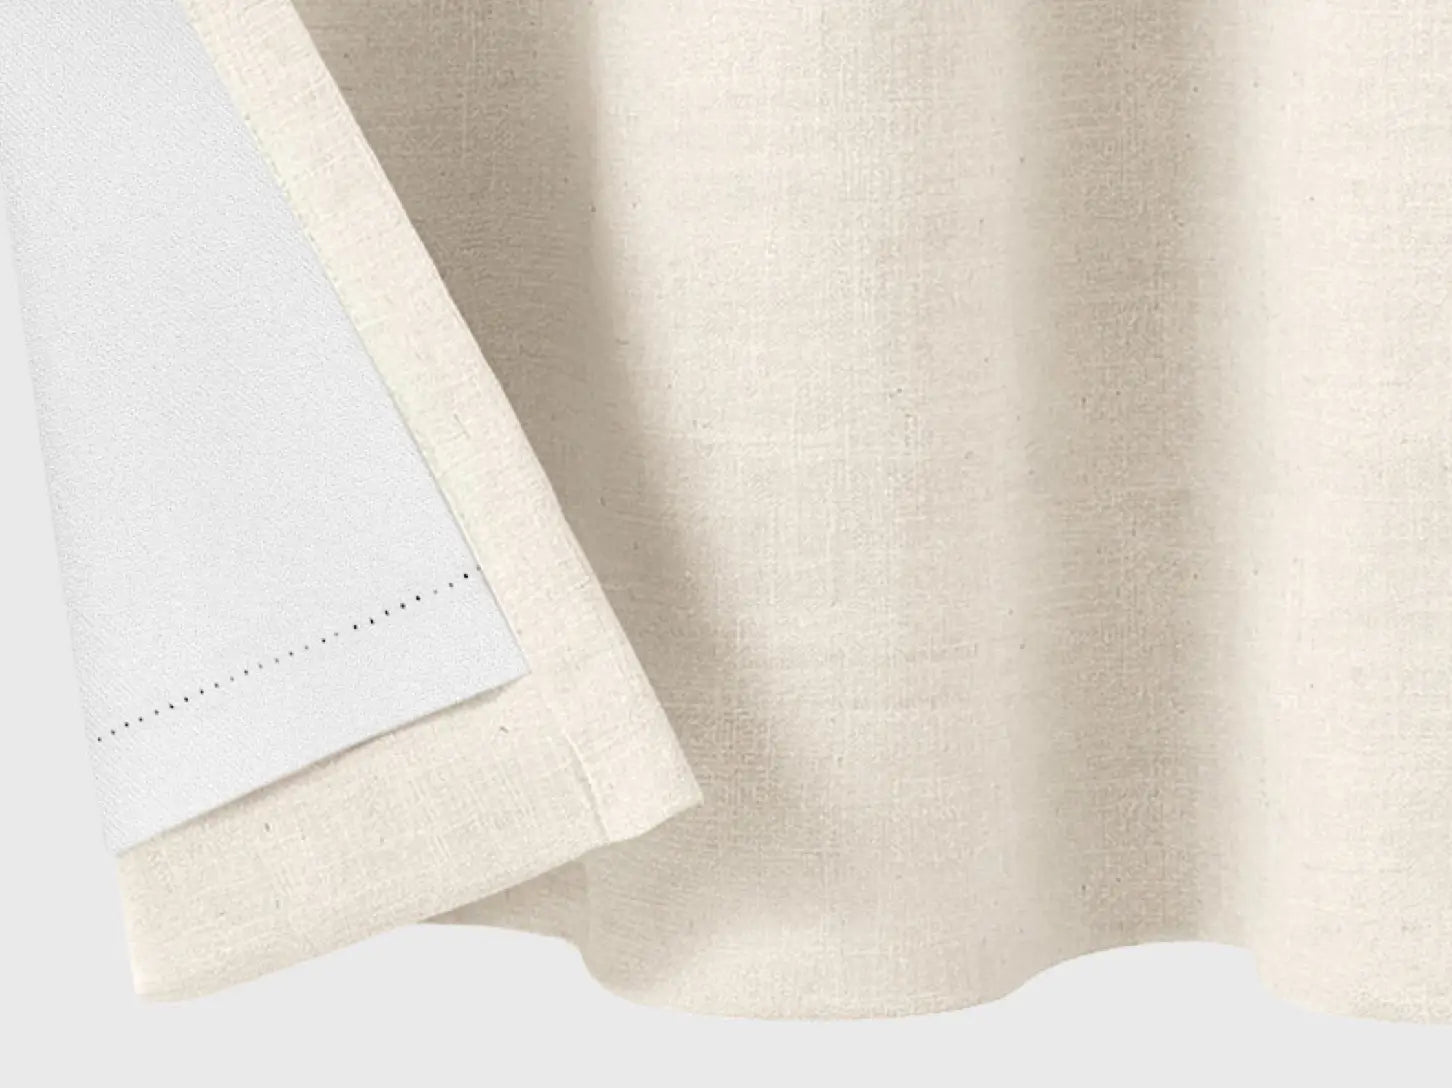
Freshine offers five types of curtain linings to customize your space, including privacy, room darkening, and blackout options. Ideal for curtains in dining rooms, living rooms, kids' rooms, and bedrooms, these linings enhance light control, insulation, and privacy. Freshine's blackout curtains for bedrooms ensure complete darkness, while room darkening linings offer superior UV protection and energy efficiency. Elevate your space with Freshine custom curtains tailored to your needs.

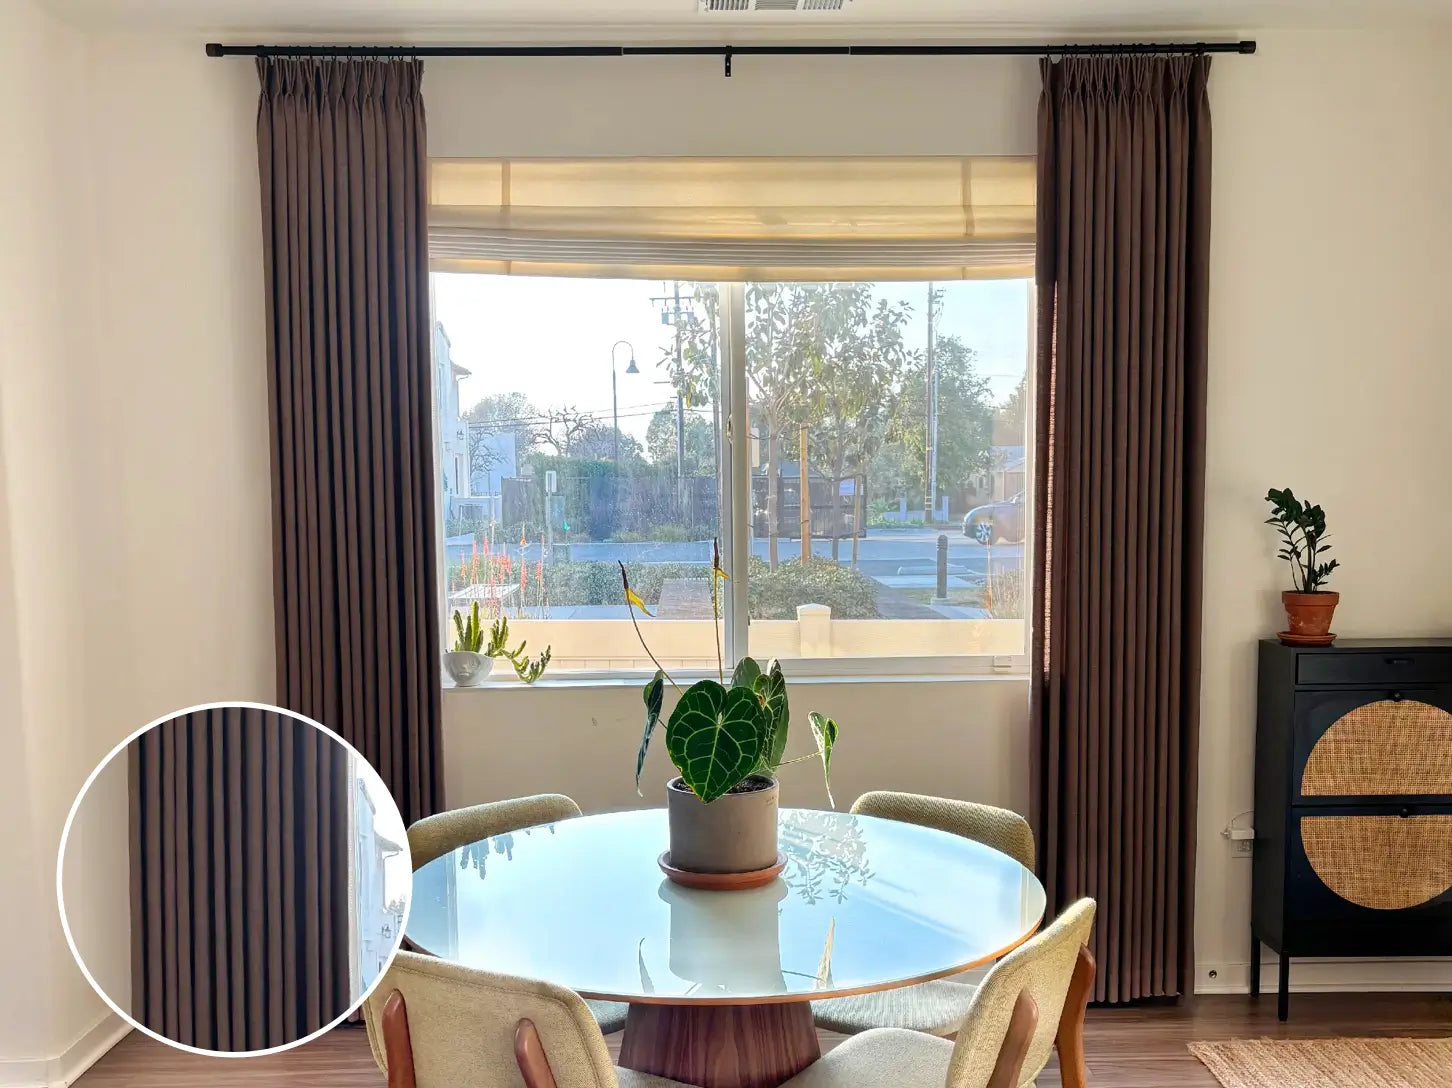
Freshine custom curtains use Thermal Memory Shaping to ensure lasting pleats and a polished look. Perfect for curtains for dining rooms, drapes for living rooms, curtains for kids' rooms, and blackout curtains for bedrooms, this technique maintains elegance and structure, enhancing any space.
How to Measure

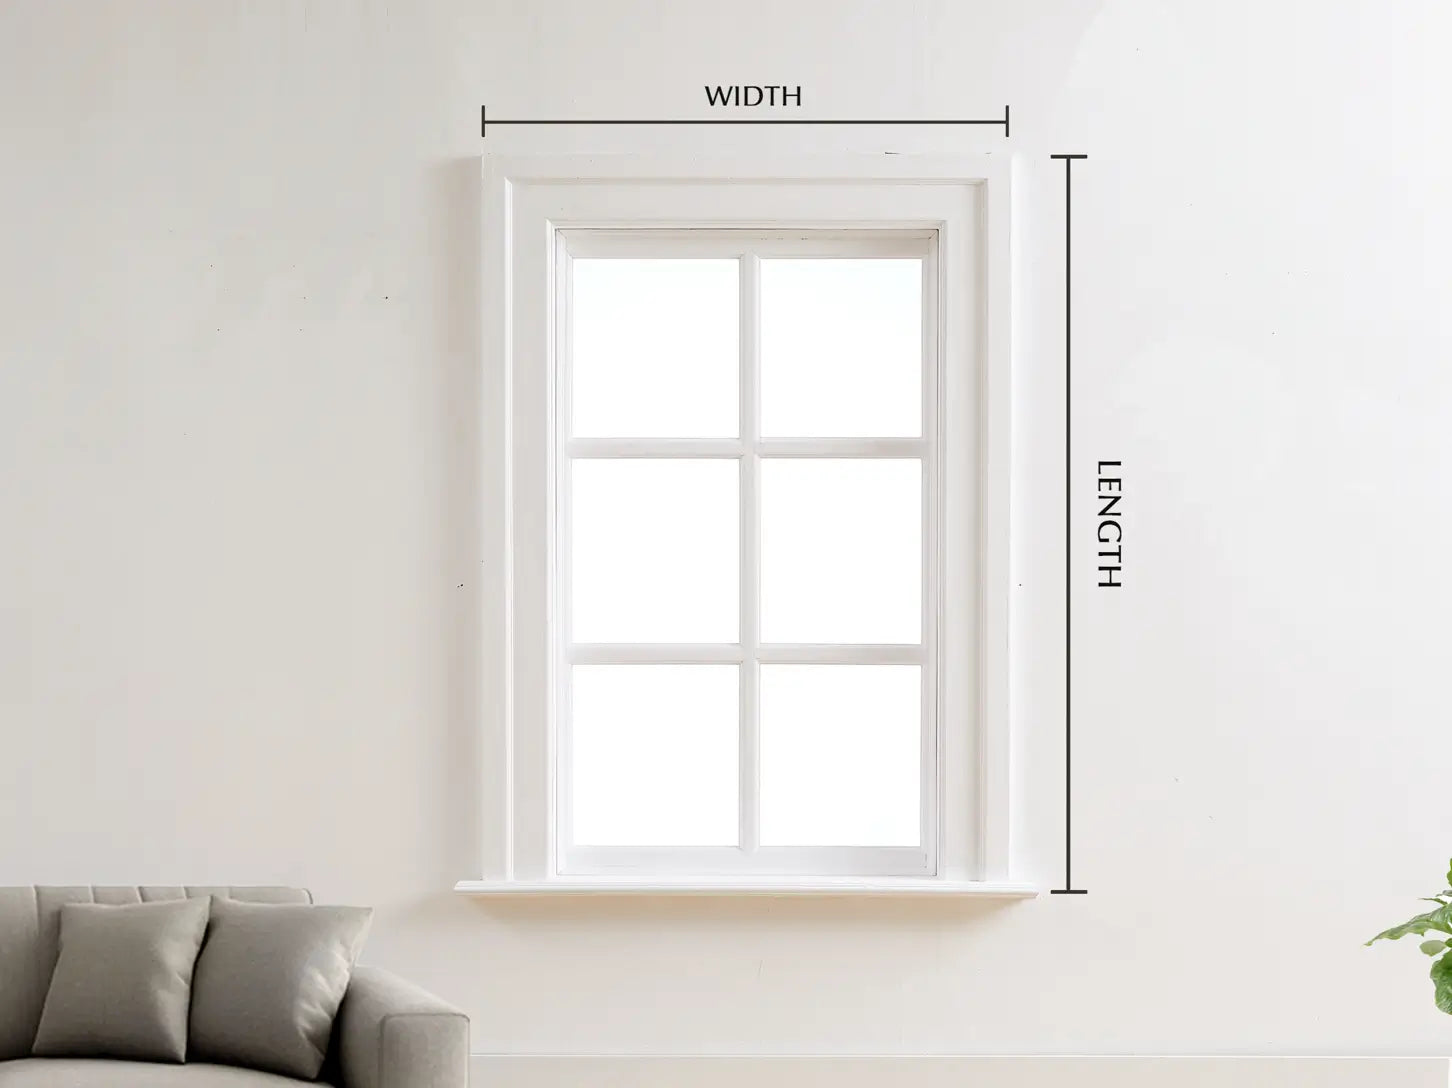
Freshine makes measuring curtains simple with our easy-to-use Measurement Tool. Whether for curtains for dining rooms, drapes for living rooms, or blackout curtains for bedrooms, our 3-step guide ensures accurate results for your custom curtains.

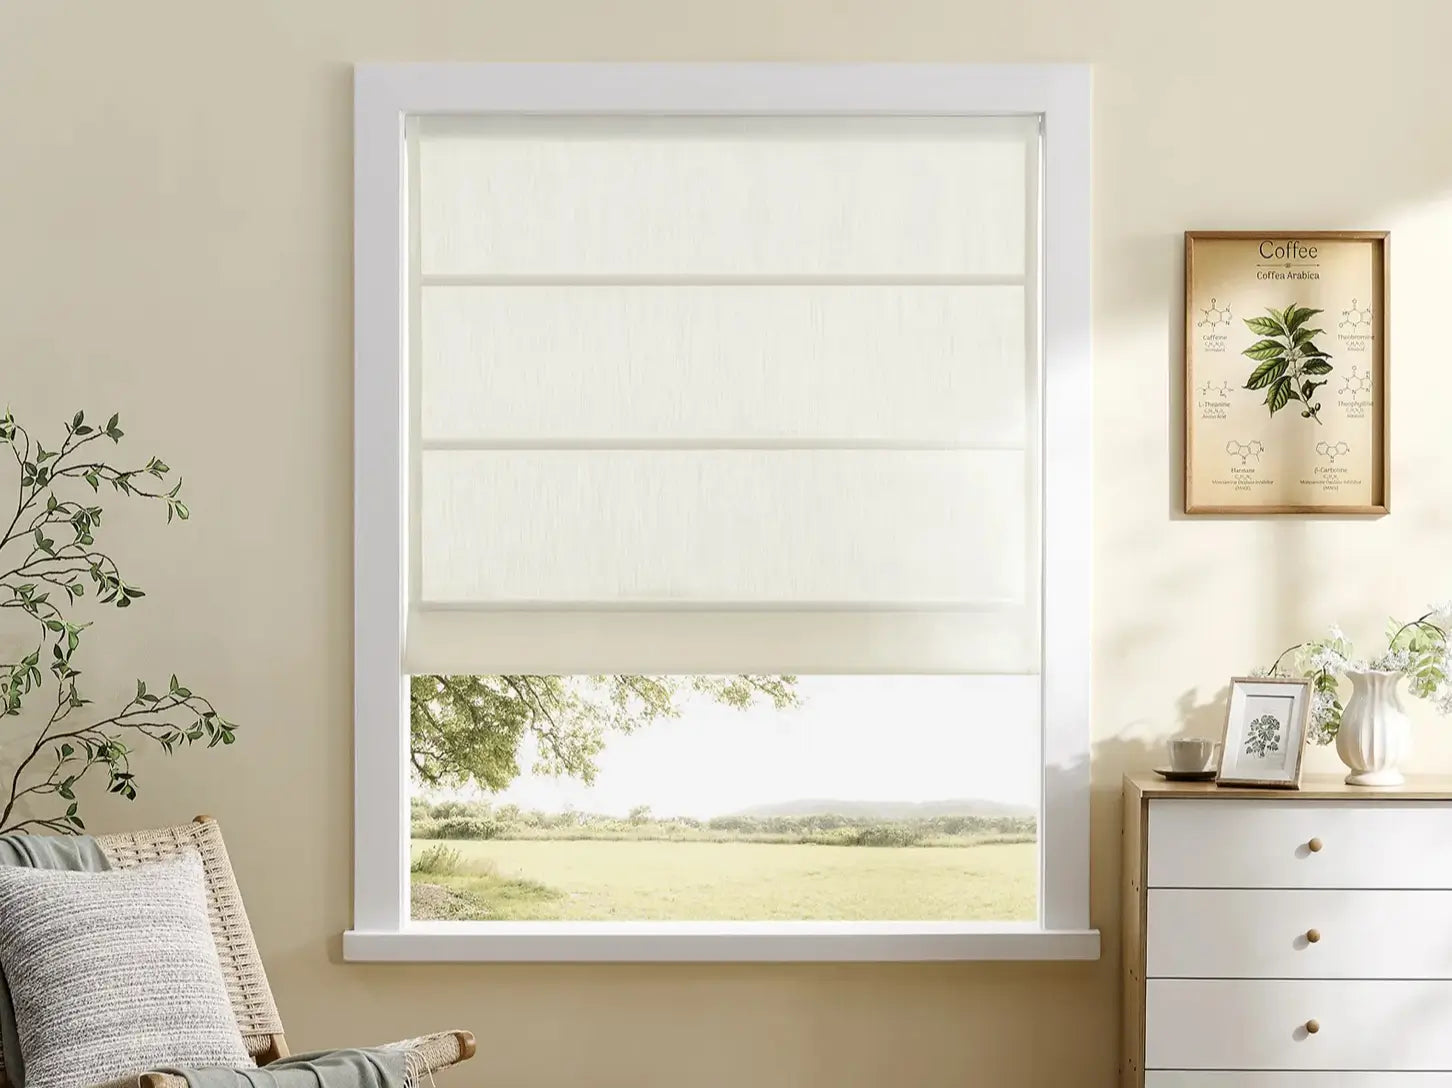
Ensure a perfect fit for your Freshine custom curtains with accurate measurements. Choose between inside or outside mount for shades, and use a steel tape for precision. Consider window obstructions and mounting hardware for flawless results. Ideal for curtains for dining rooms, drapes for living rooms, or blackout curtains for bedrooms.
Install Curtains & Shades

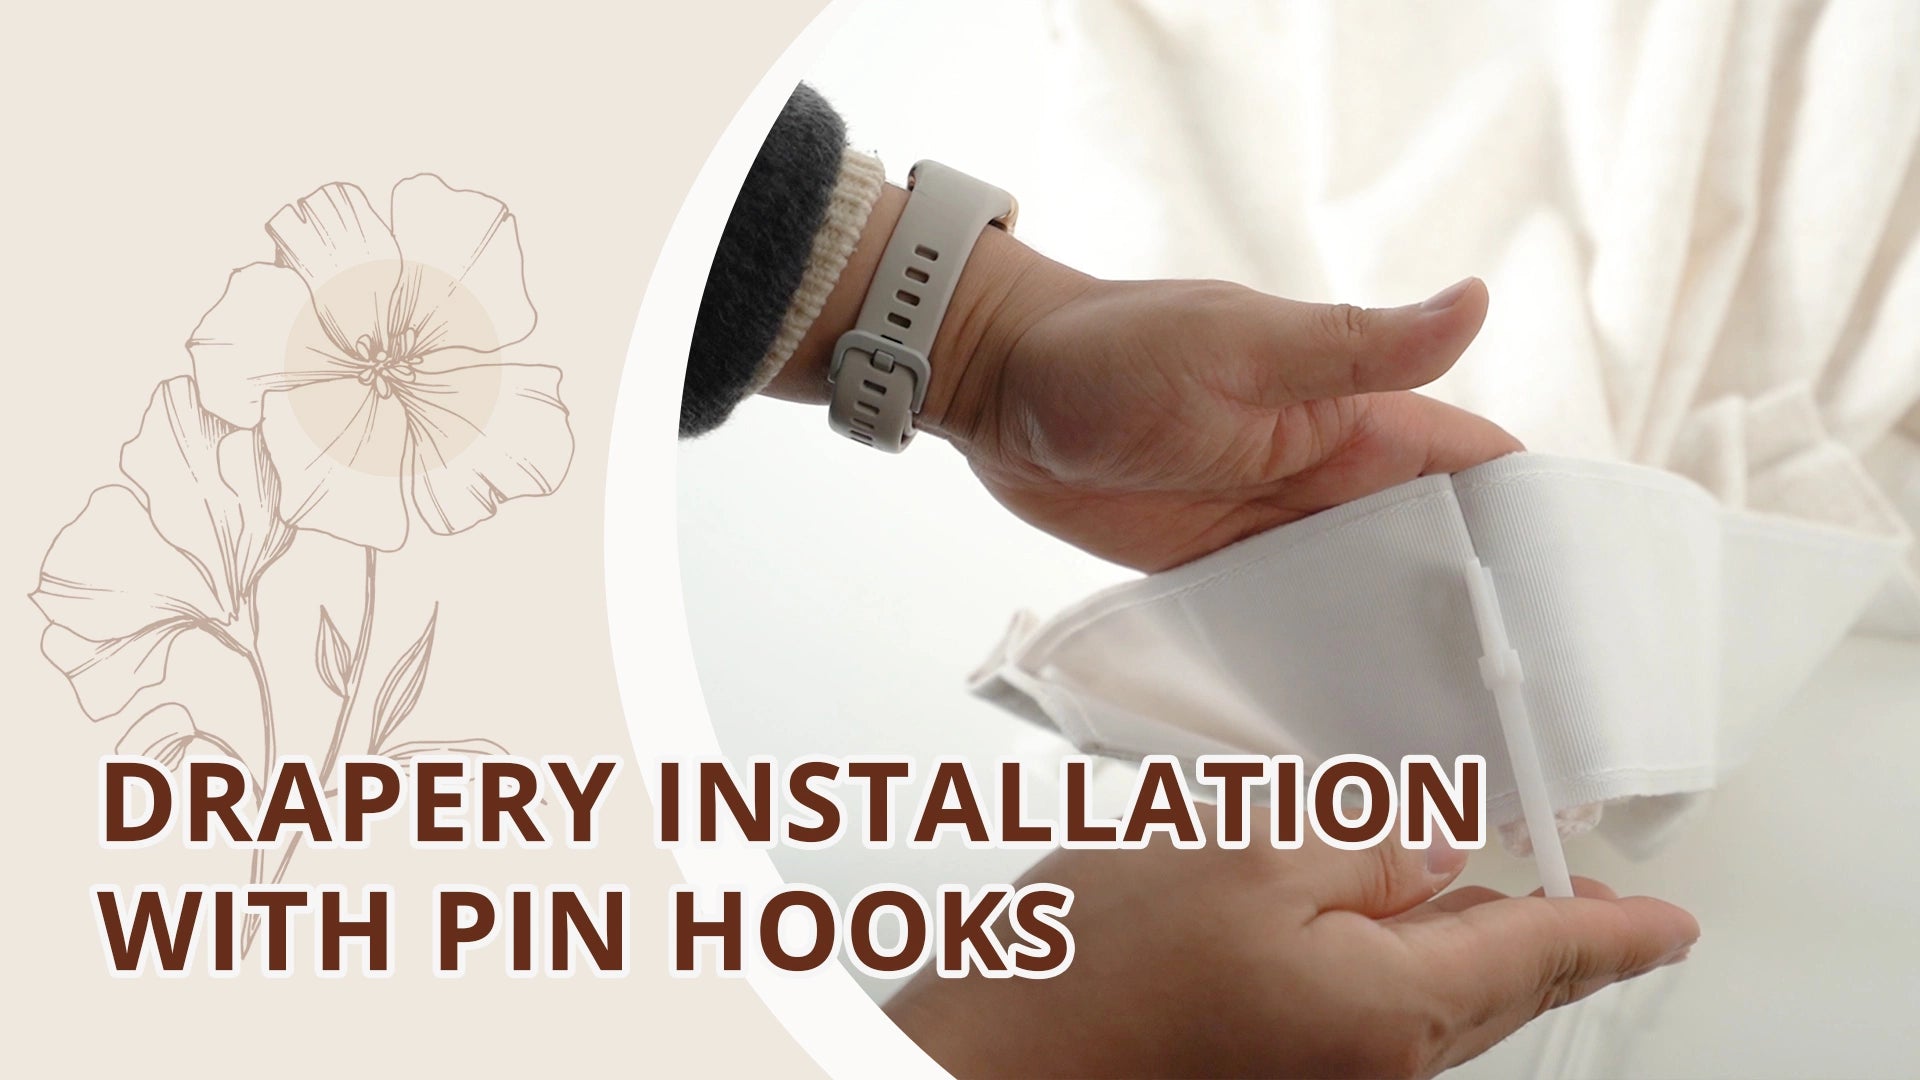
1. Adjust the Hooks: Position the pin hooks to your desired height.
2. Insert the Hooks: Slide the pin hooks into the tape on the back of the pleated header, just inside the seam, until they are fully secure.
3.Attach to the Rings: Hook the pins into the eyelets of the curtain rod rings.

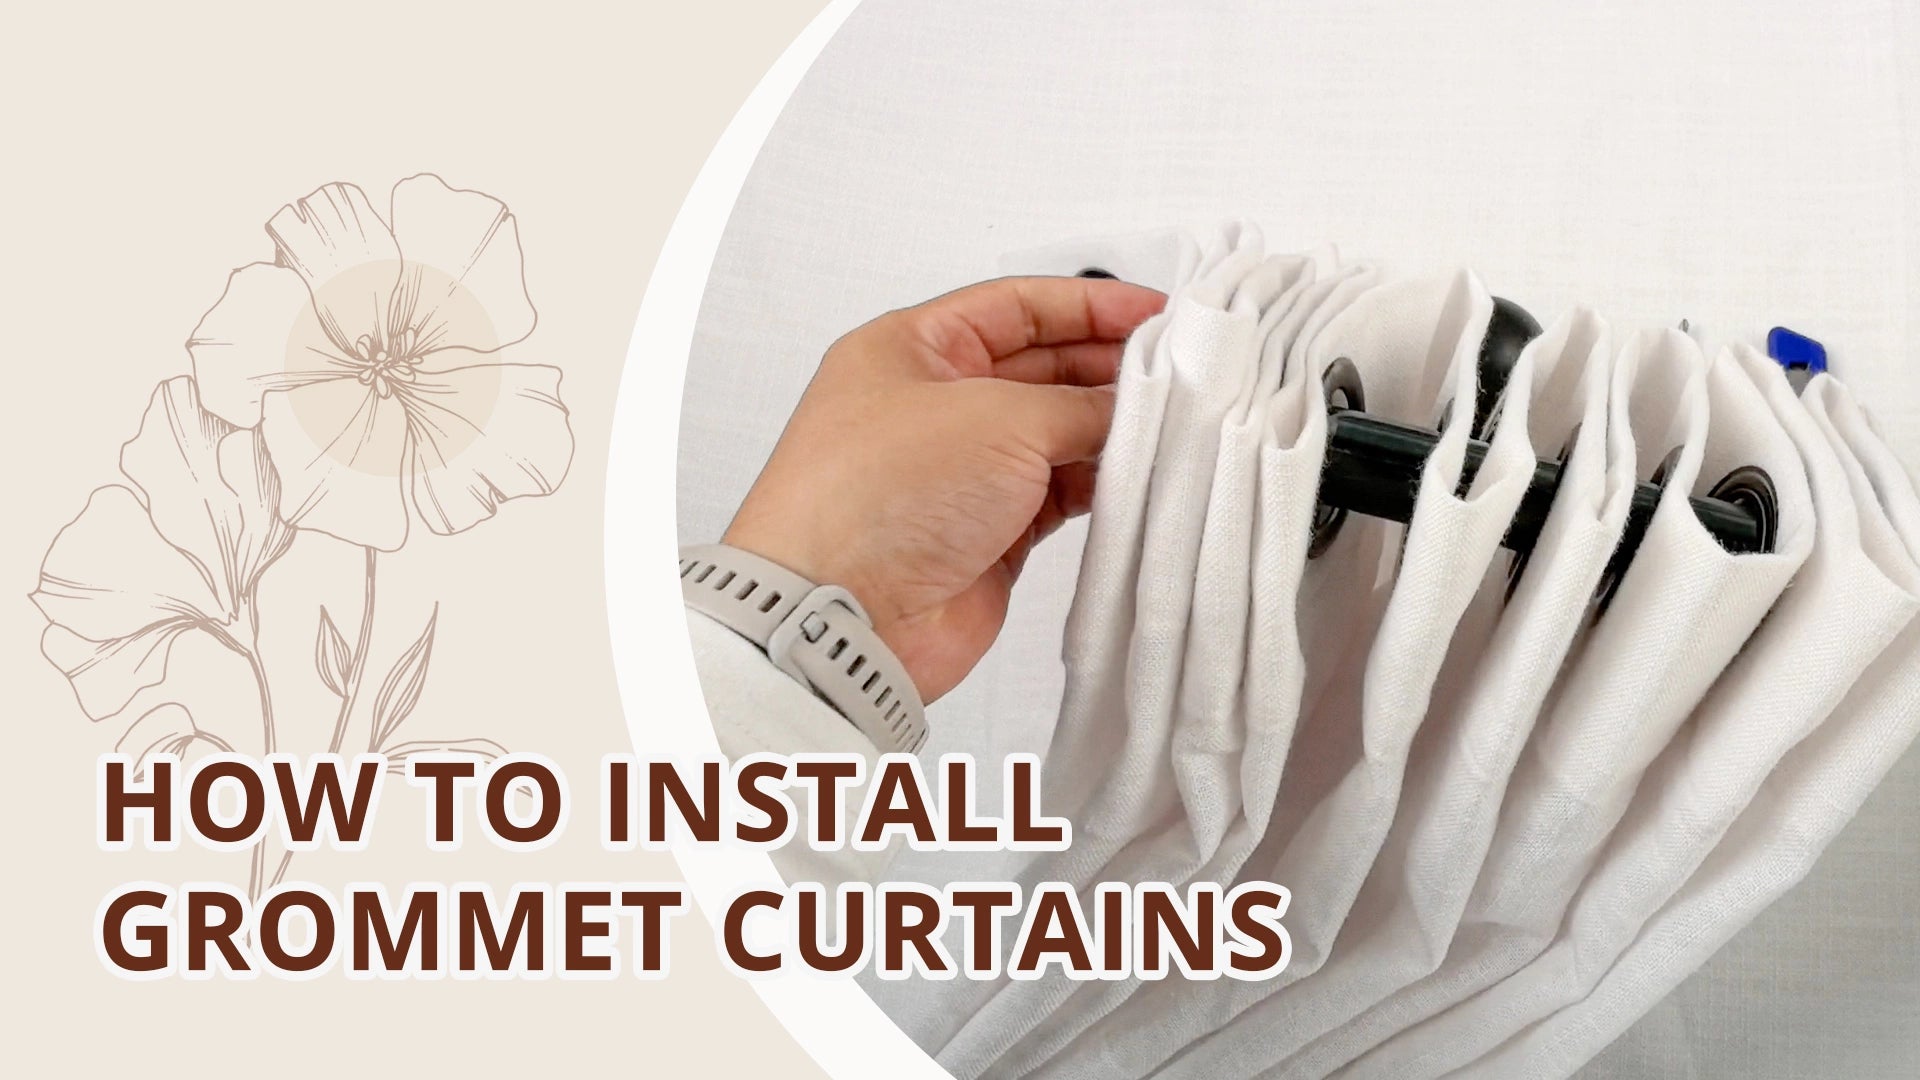
· No hooks required—just slide the grommets directly onto the curtain rod.
· For easy installation, simply thread each grommet onto the rod one at a time.

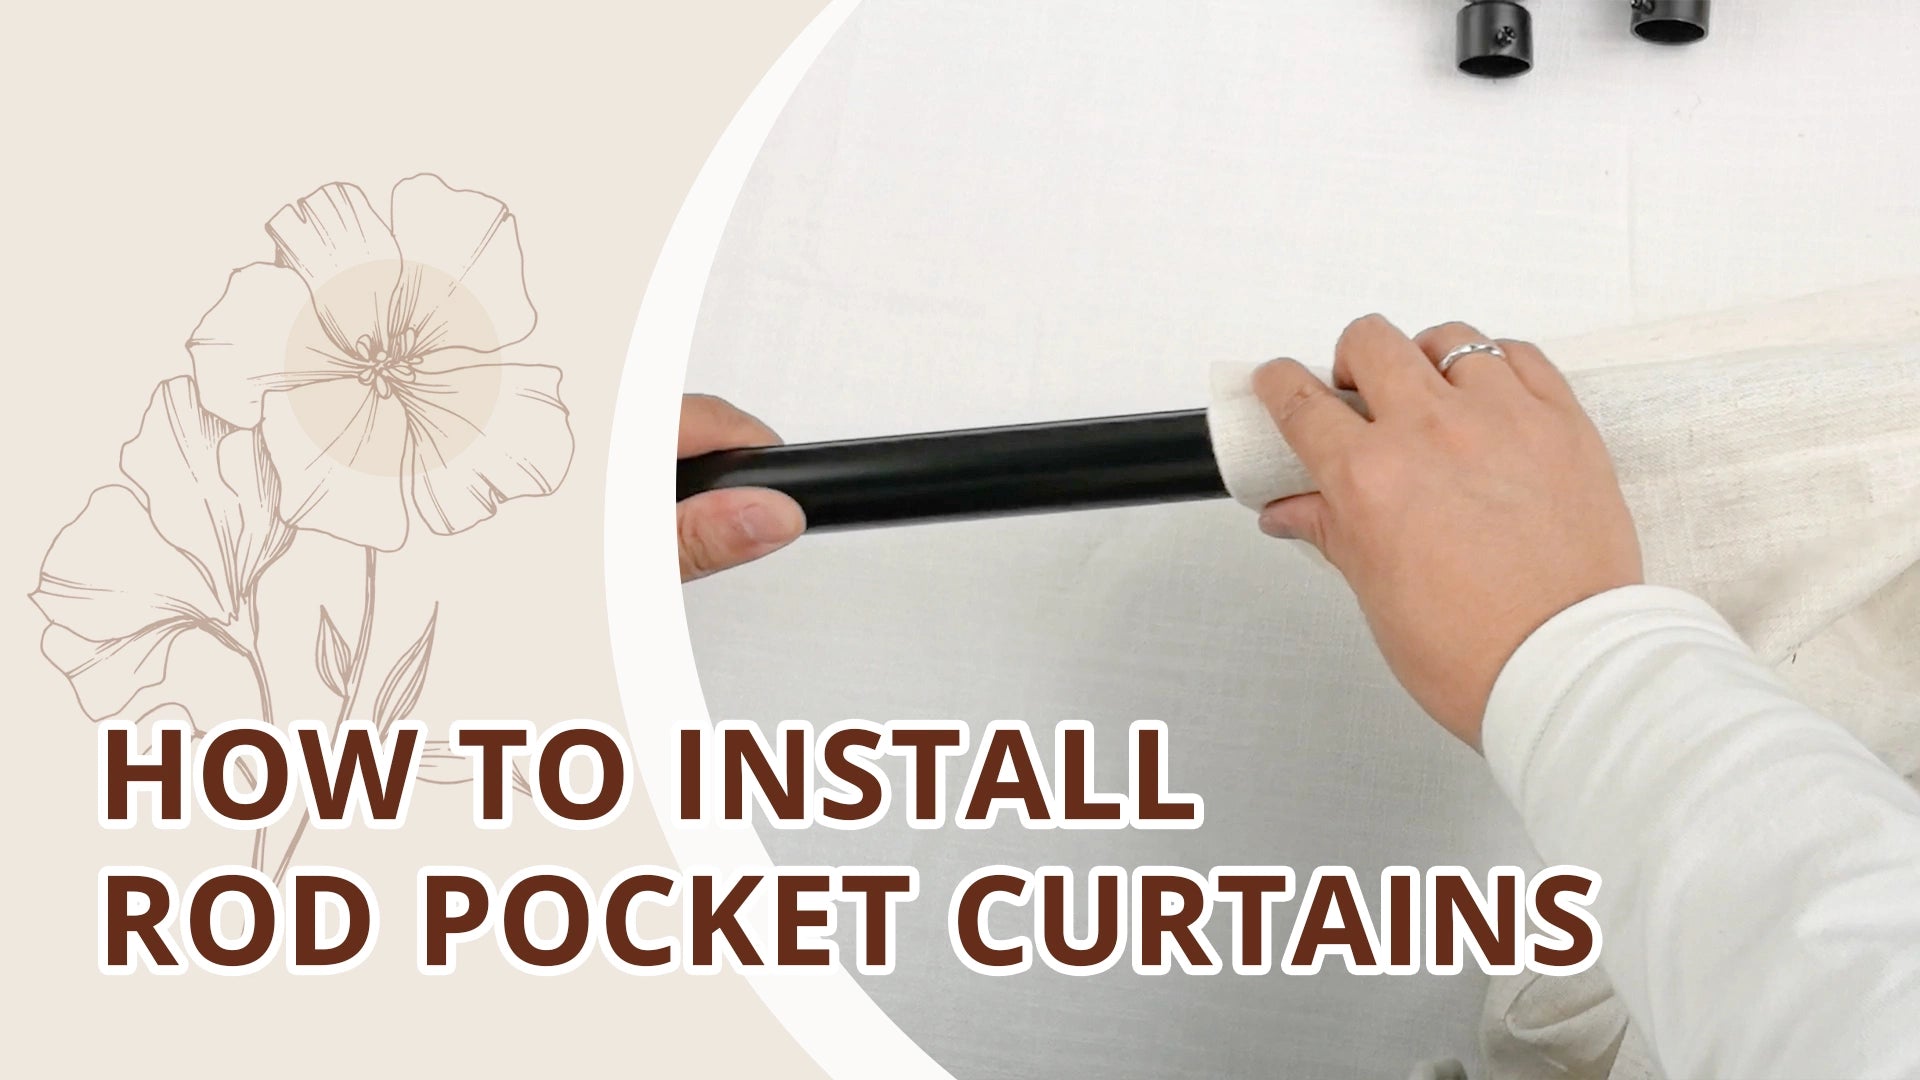
Slide the curtain rod through the 3-inch pocket at the top of the panel, then place the rod on the brackets to hang your drapes.

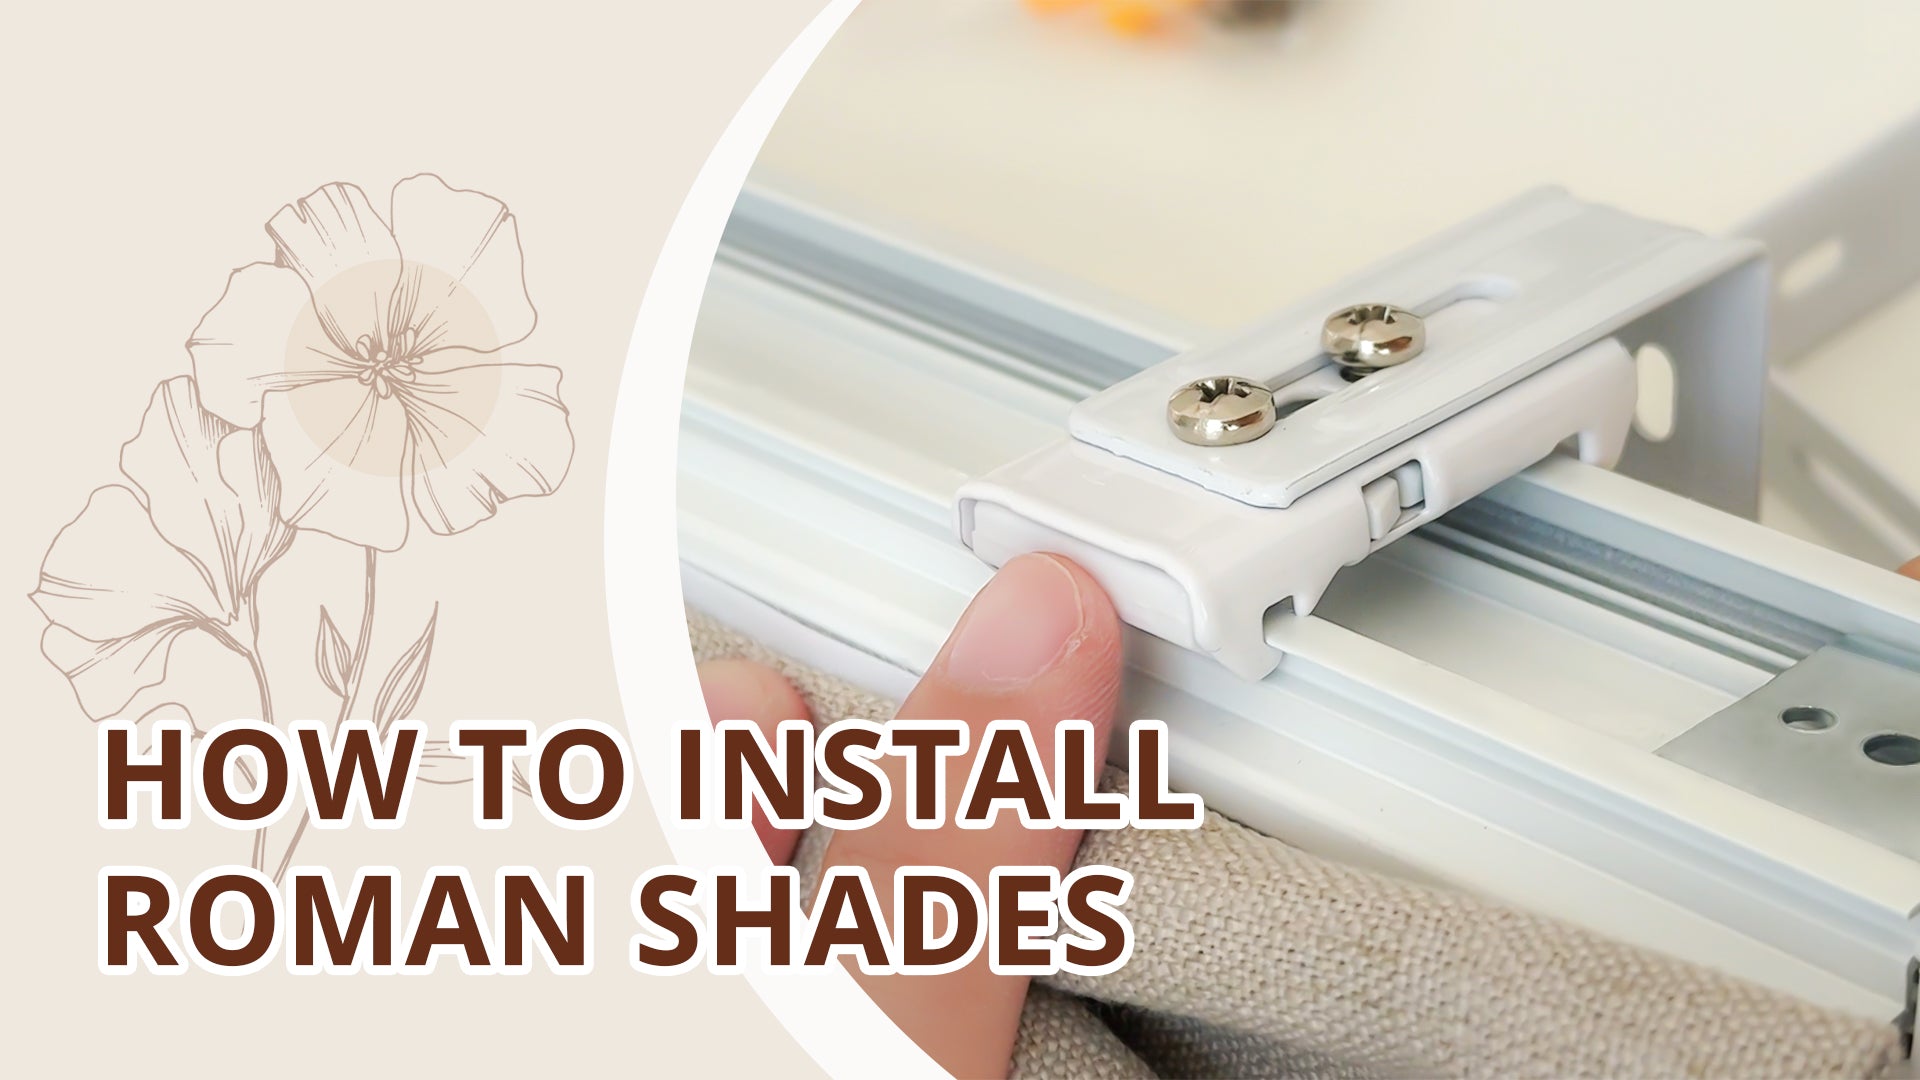
1. Install the bracket
· Ceiling mount: Fix the ceiling bracket directly to the ceiling.
· Wall mount: Assemble wall + ceiling brackets, then fix to the wall.
2. Snap the headrail onto the back channel of the mounted bracket.
Install Rods & Tracks

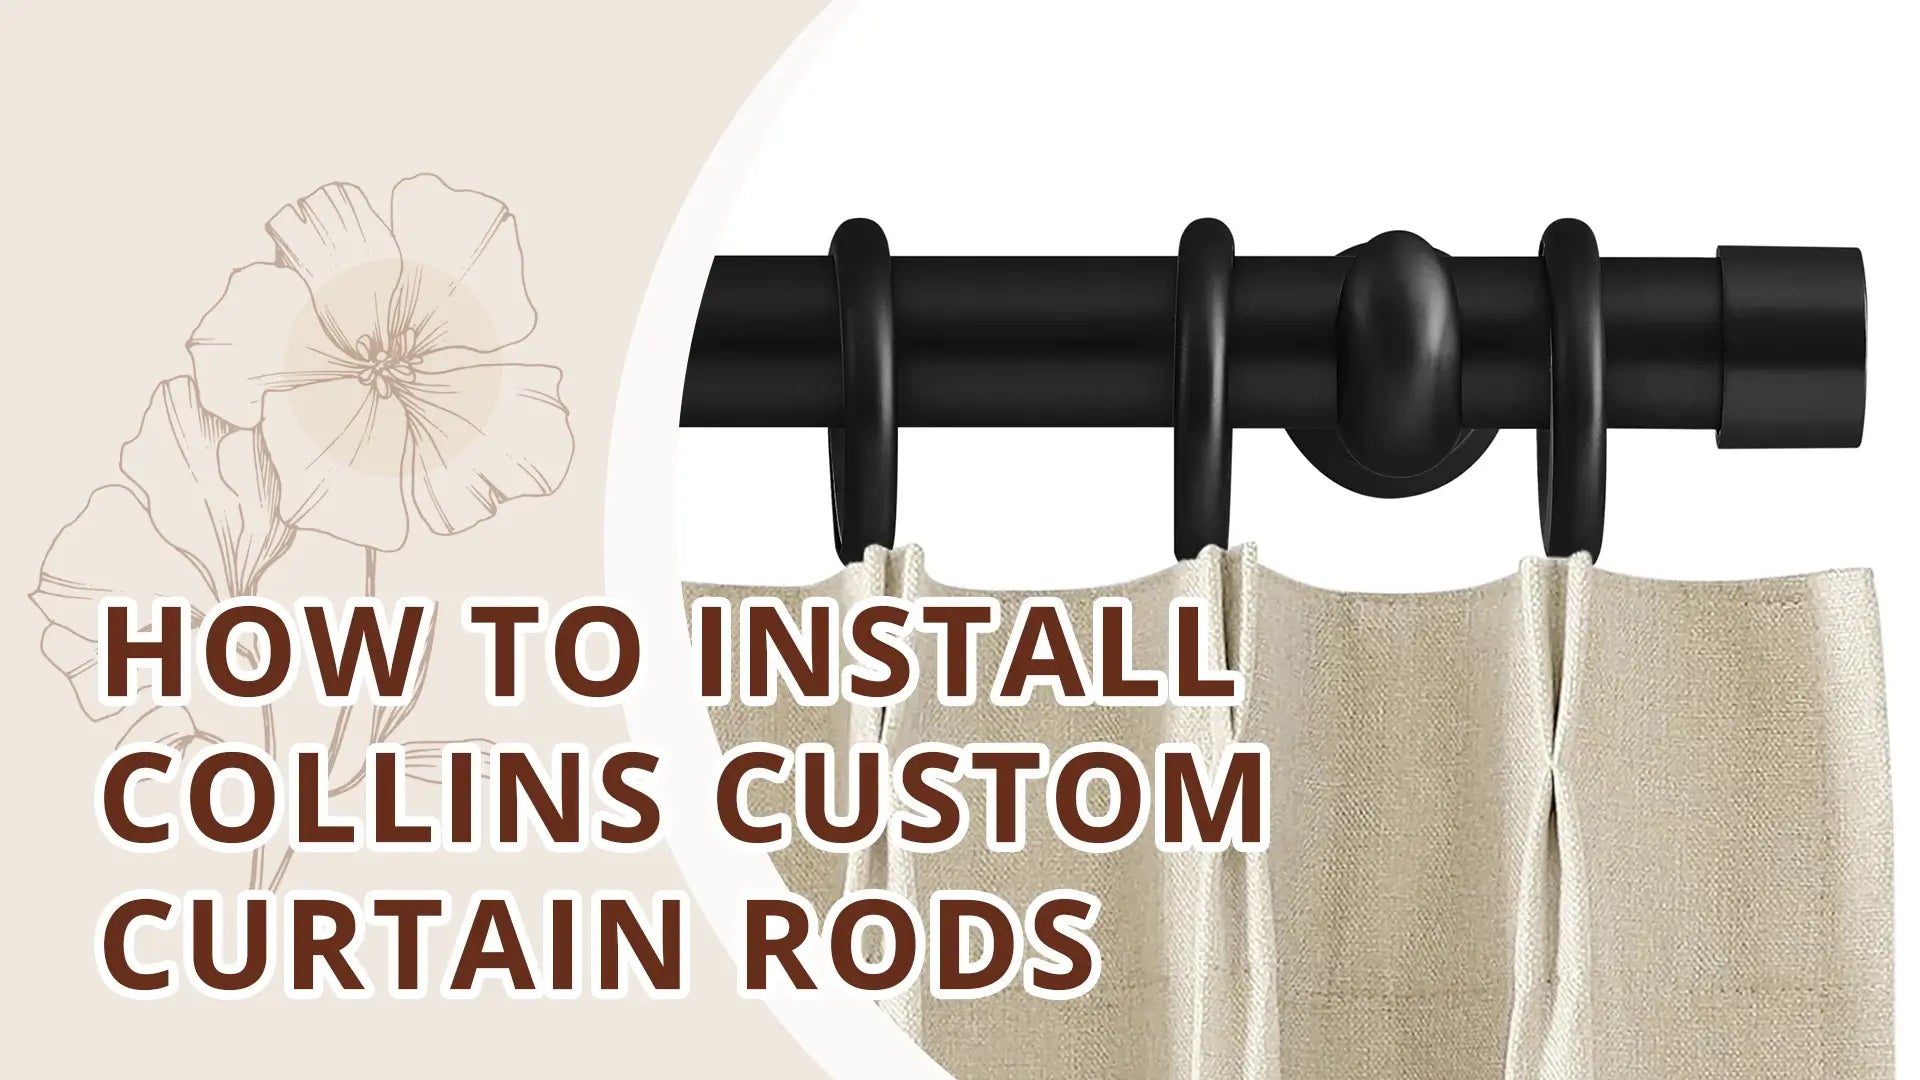
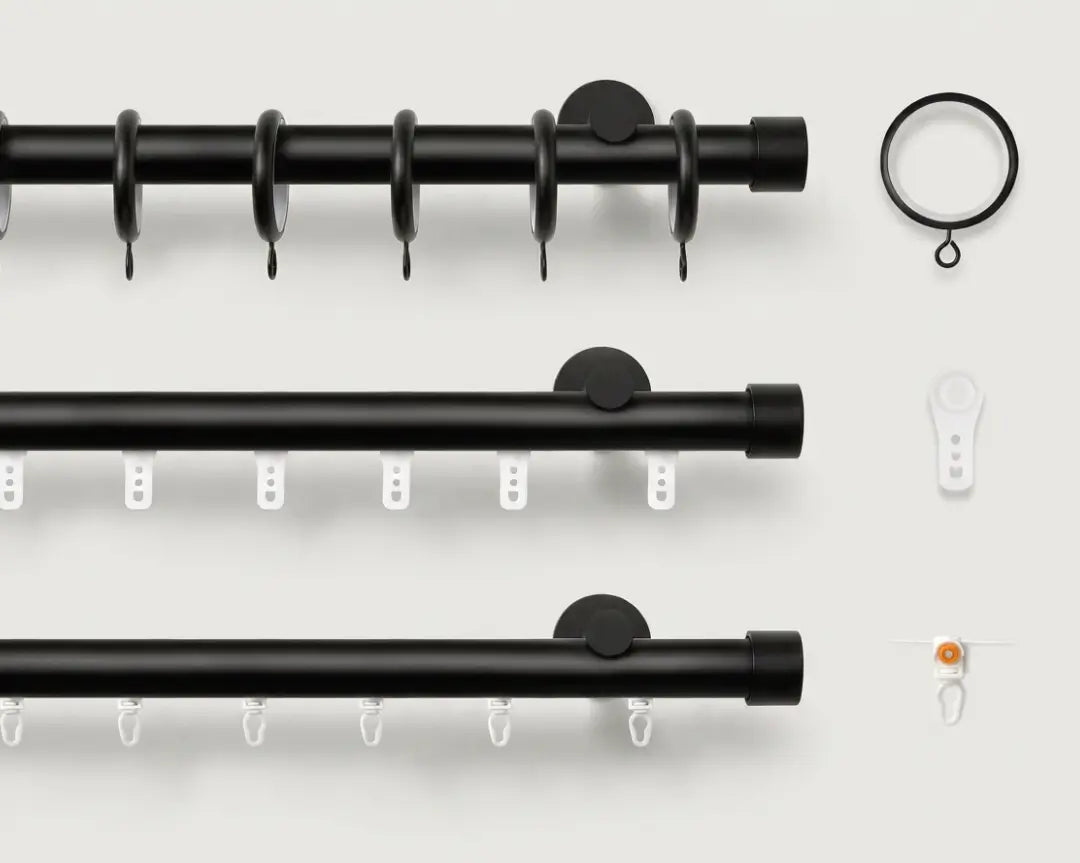
1. Install Brackets – mark positions & screw bases to wall.
2. Assemble Rod – connect sections; add joint brackets if needed.
3. Add Rings & Finials – slide rings on, attach finials.
4. Mount Rod – place on brackets & tighten screws.

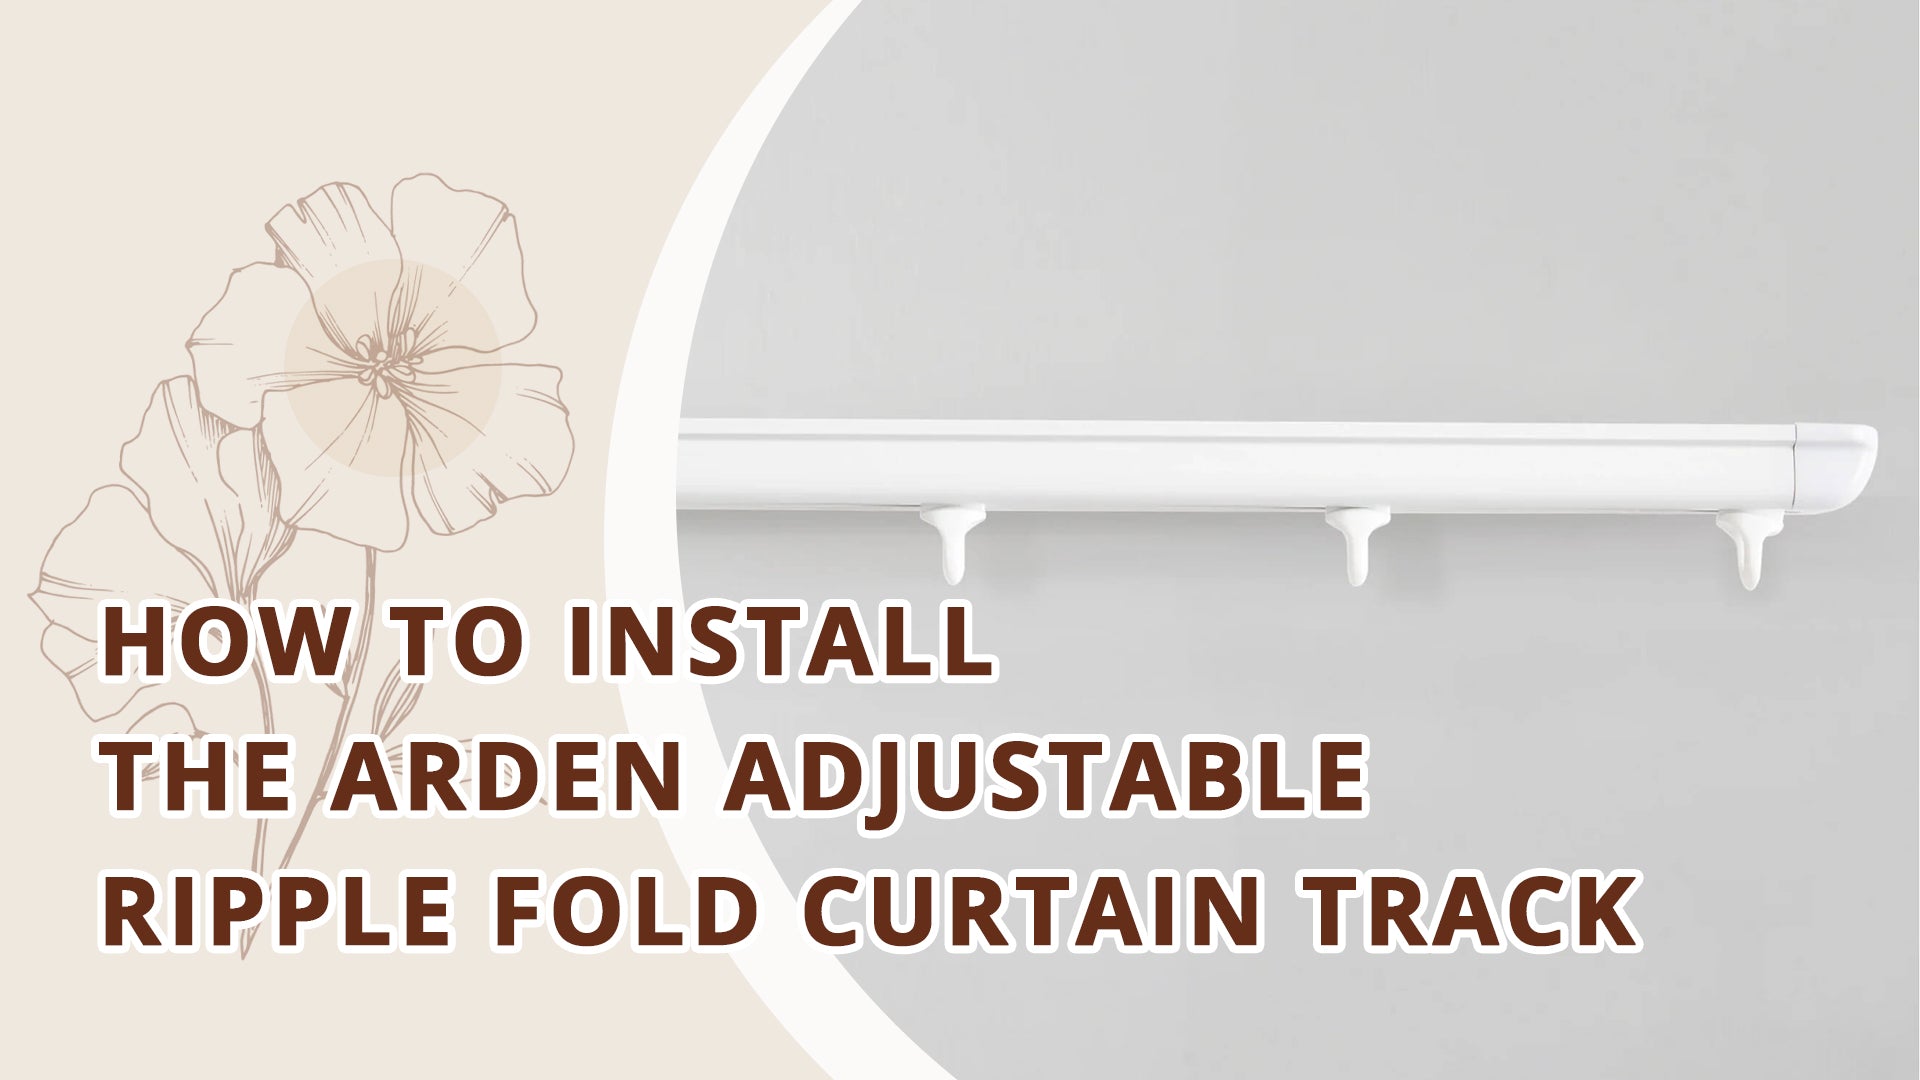
1. Check & adjust - Check all accessories, match hook quantity, and adjust the draw direction if needed.
2. Install brackets - Mount the ceiling brackets at marked positions, leaving screws slightly loose.
3. Mount & secure track - Attach the track to the brackets, then fully tighten all screws.

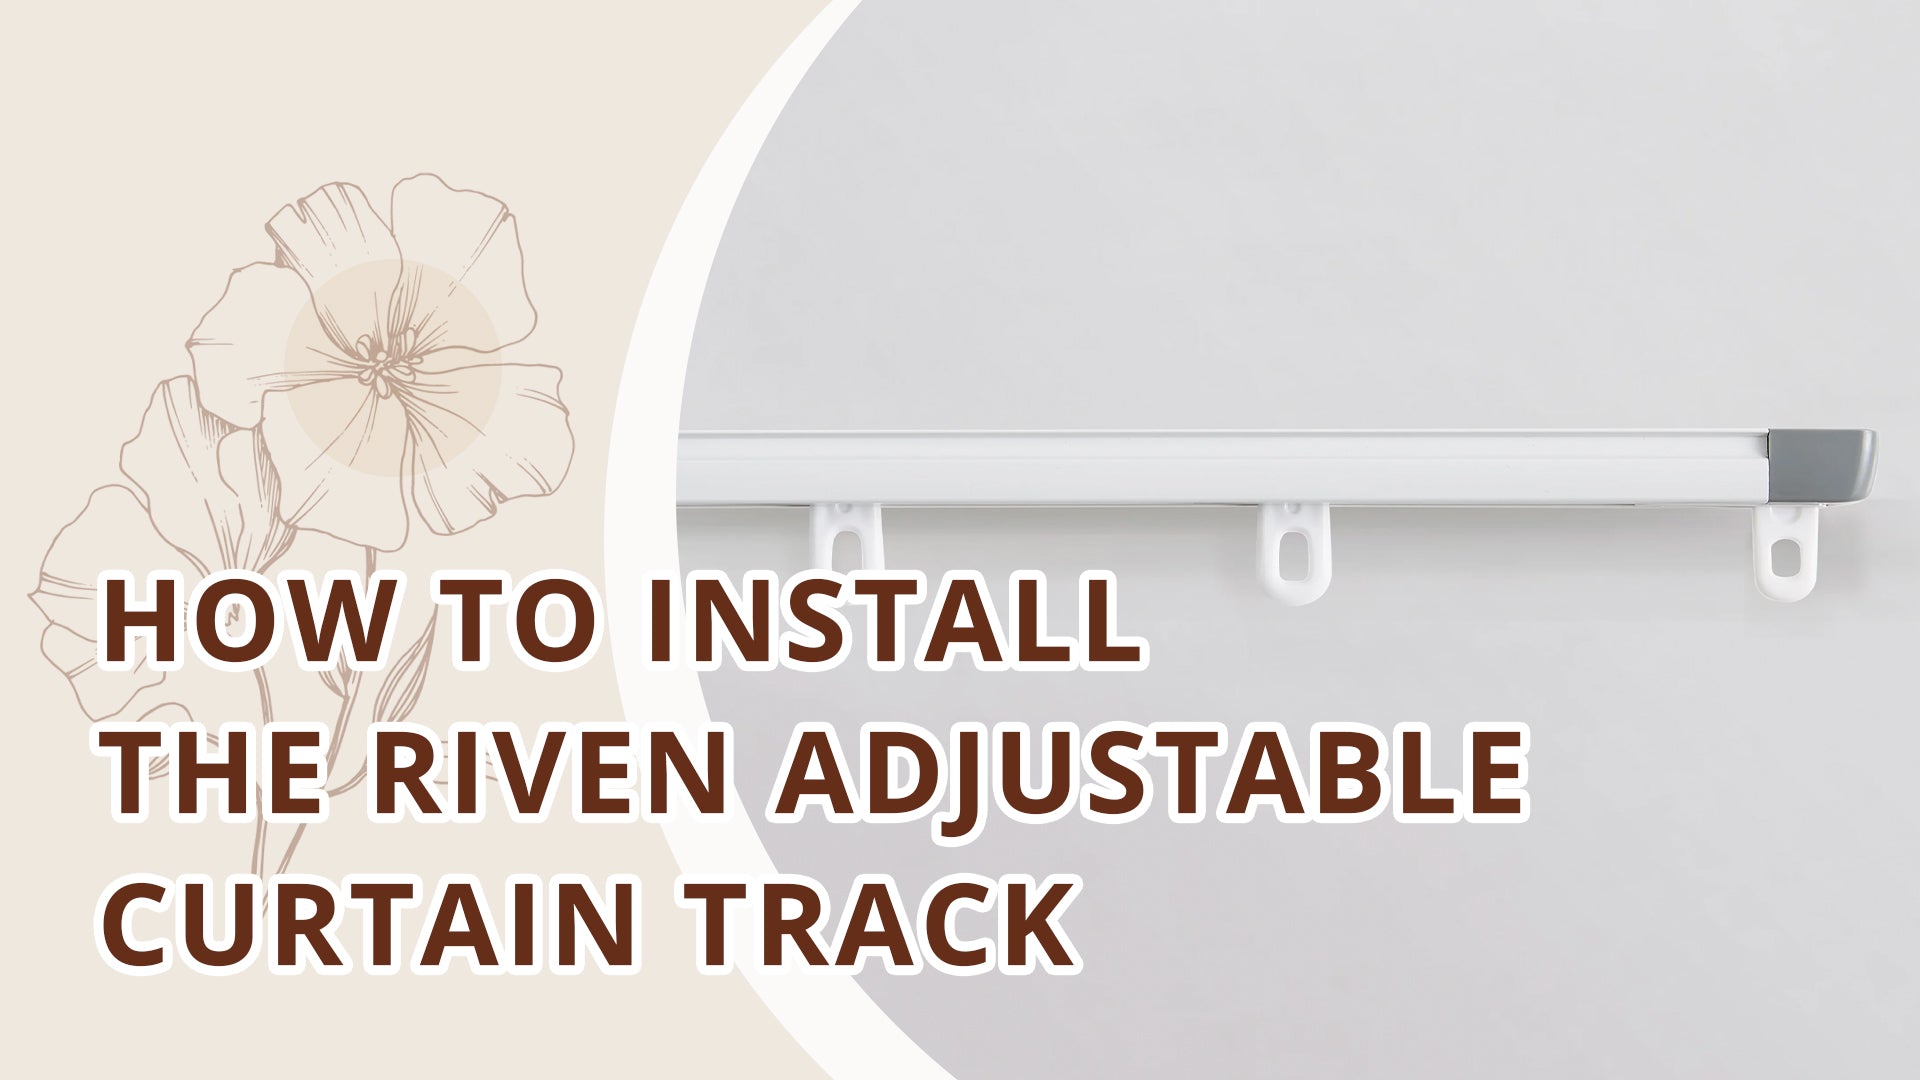
1. Prepare the track - Check accessories and slide the inner track into the outer track.
2. Install brackets - Mount ceiling (or wall) brackets at marked positions, leaving screws slightly loose.
3. Mount & secure - Attach the track, install the anti-slide plate, then tighten all screws securely.

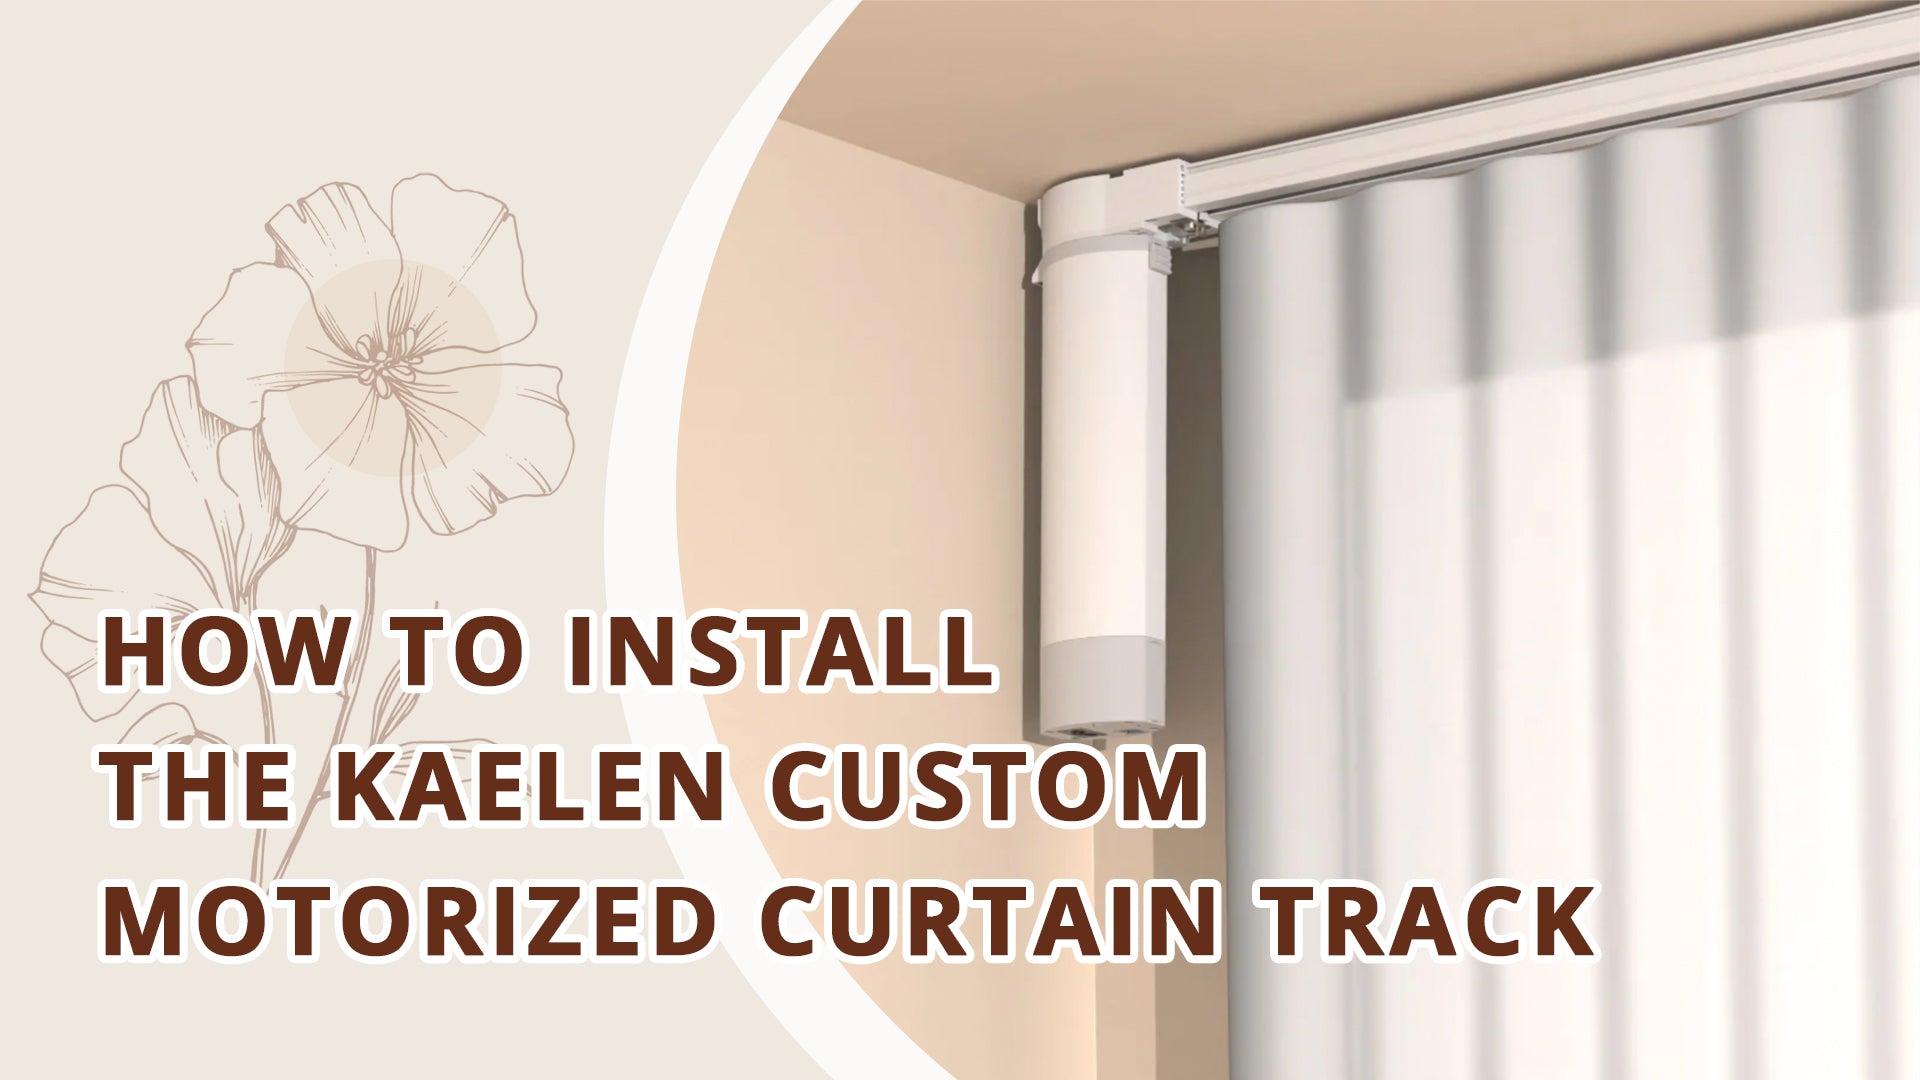
1. Prepare & Pair - Attach the motor, connect power, insert the remote battery, and pair the remote.
2. Mount the Track - Install the track using ceiling or wall brackets and secure all hardware.
3. Test Operation - Use the remote to confirm smooth open and close movement.

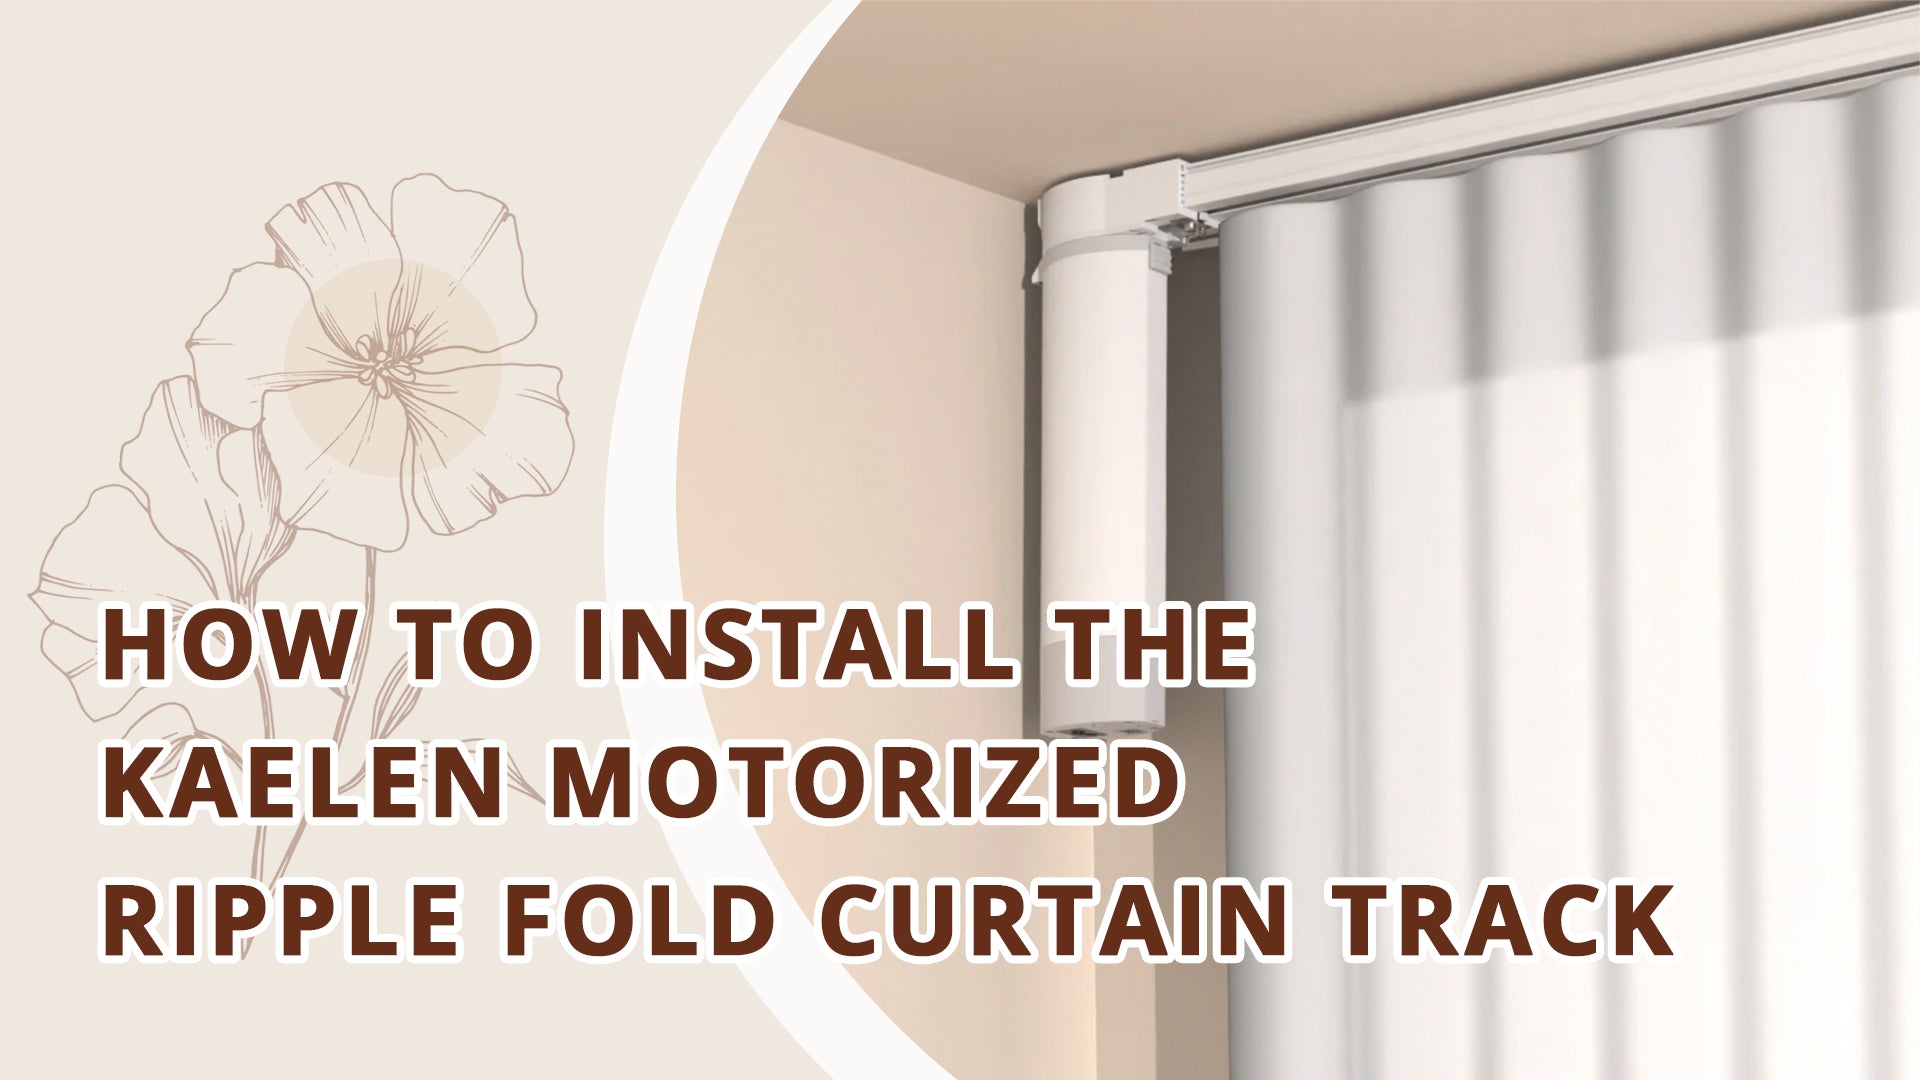
1. Prepare & Pair - Attach the motor, connect power, insert the remote battery, and pair the remote.
2. Mount the Track - Install the track using ceiling or wall brackets and secure all hardware.
3. Test Operation - Use the remote to confirm smooth open and close movement.

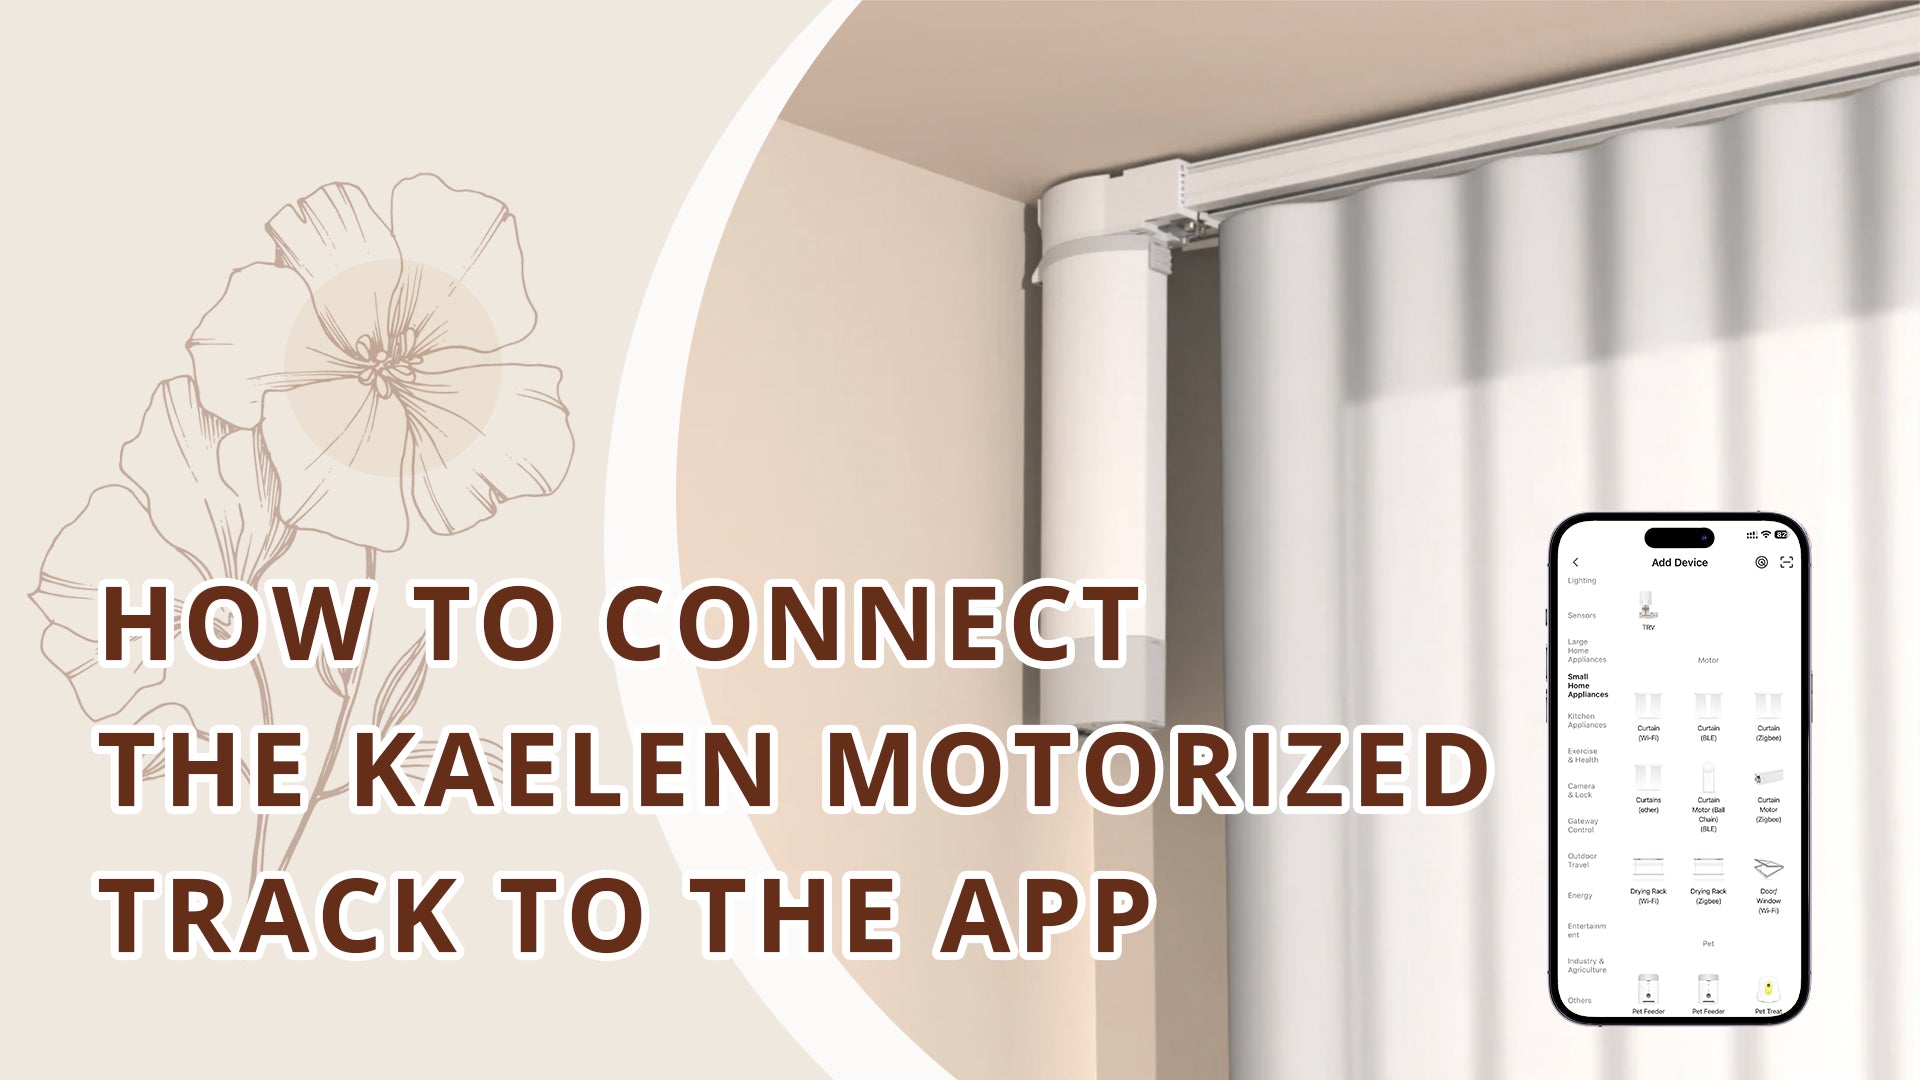
1. Add the device - Download the Tuya app, tap Add Device, and select Curtain (Wi-Fi).
2. Connect to Wi-Fi - Enter your 2.4GHz Wi-Fi details, then hold the reset button for 5 seconds until the light blinks.
3. Test operation - Use Open / Close / Pause to confirm proper operation.